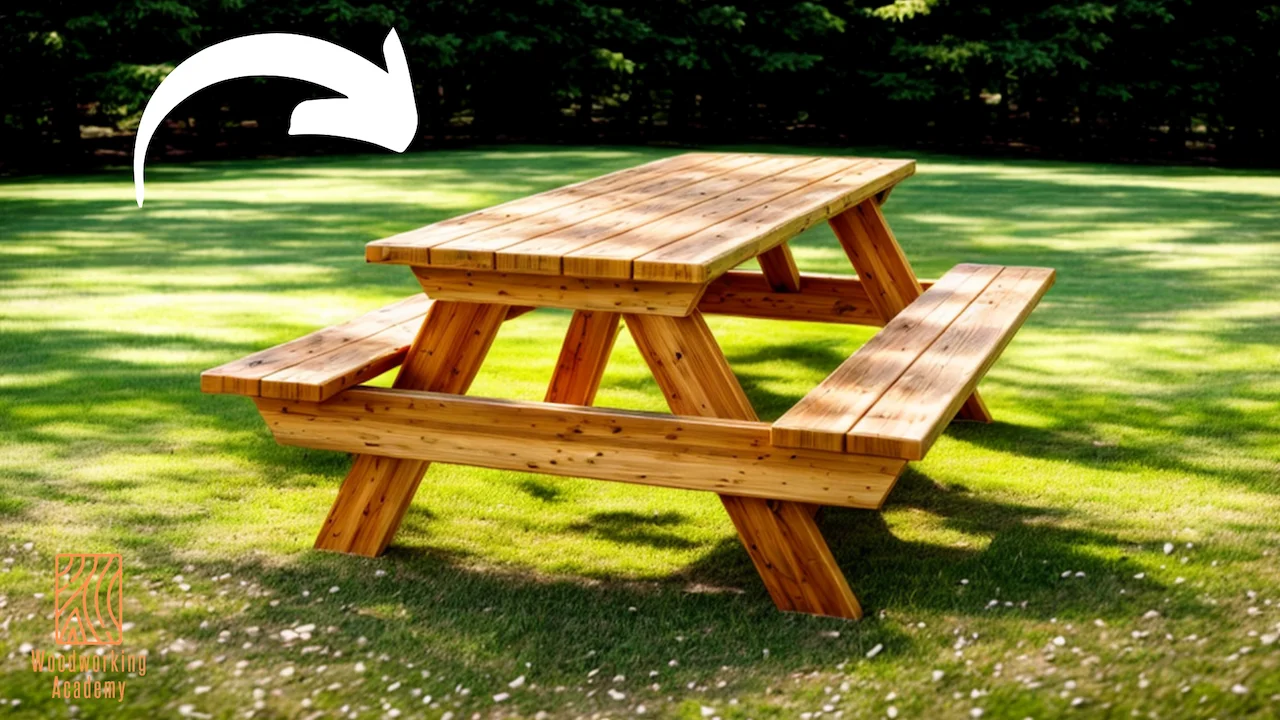
Picnic Table Plans: How to Build a DIY Picnic Table
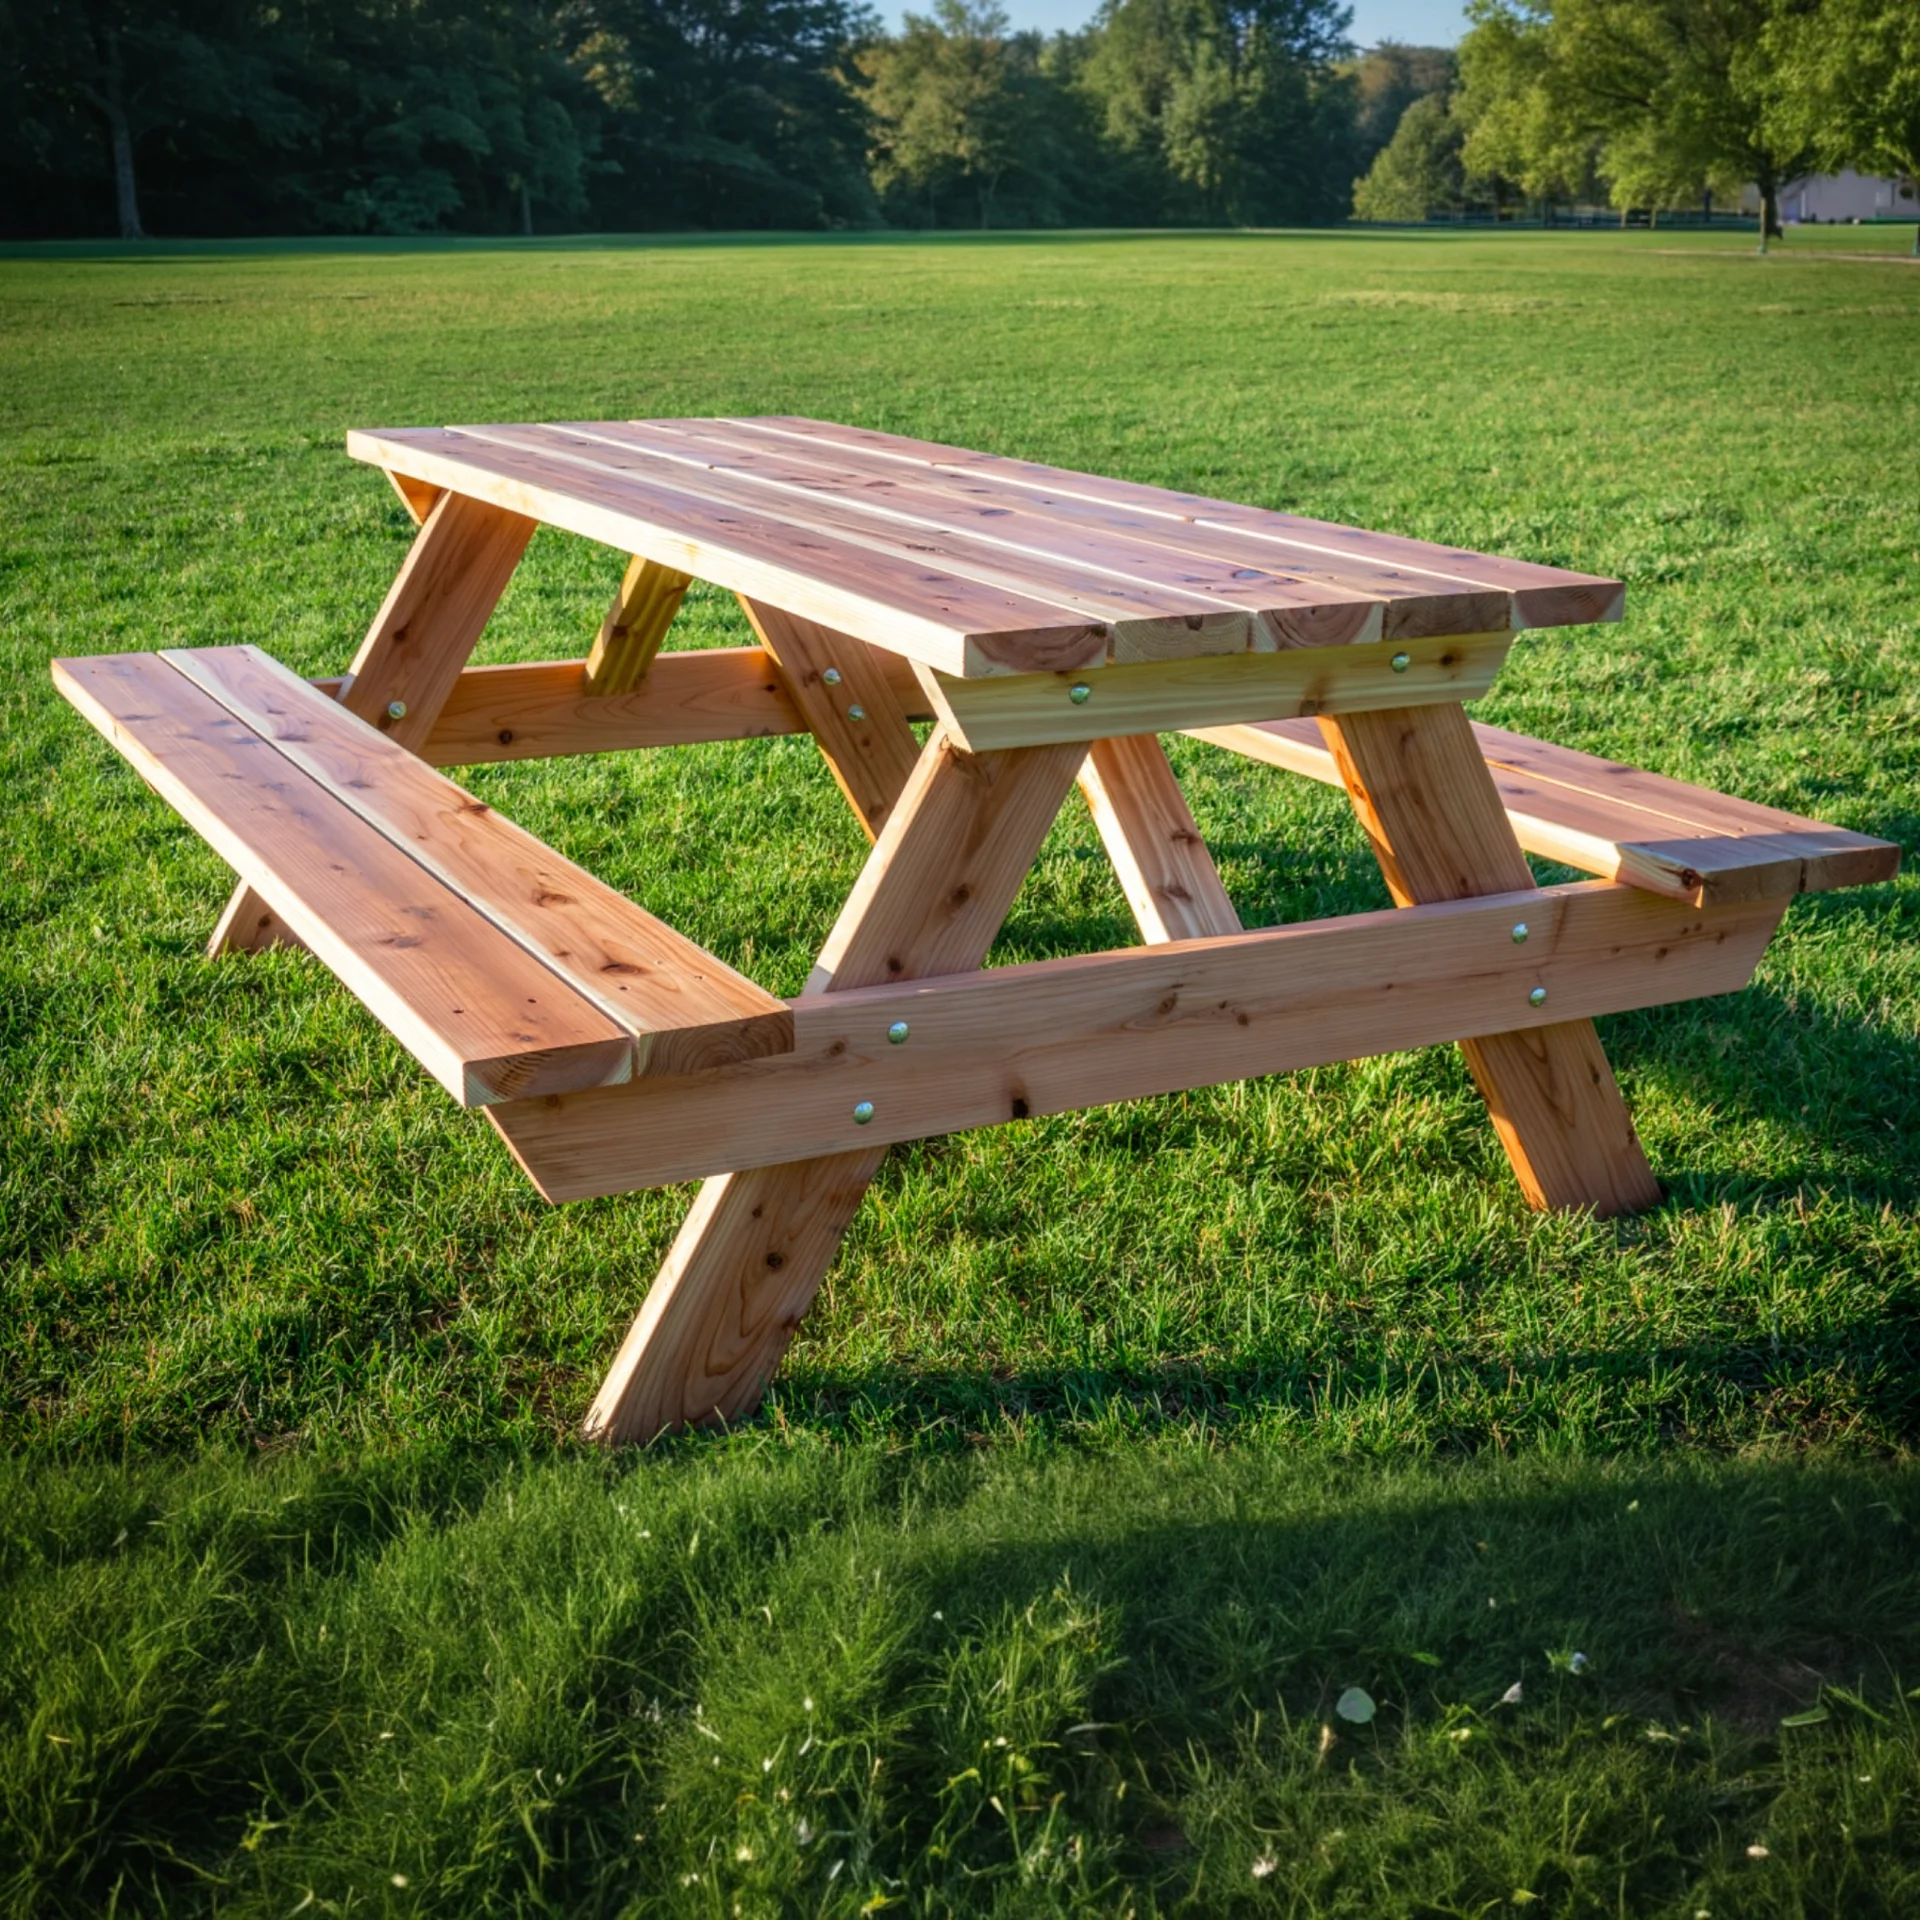
Looking for easy picnic table plans that you can build in a weekend? This DIY picnic table is one of the simplest outdoor woodworking projects you can tackle. With basic tools, straightforward construction, and a handful of lumber, you can build a sturdy picnic table that's perfect for backyard barbecues, family gatherings, and outdoor entertaining.
If you've been searching for how to build a picnic table without complicated joinery or advanced woodworking techniques, this project is for you. The design uses simple angled cuts, carriage bolts, and standard dimensional lumber to create a durable outdoor table that will last for years.
Whether you're a beginner woodworker looking for a rewarding project or an experienced builder wanting a quick weekend build, these picnic table plans provide an easy path to a finished project you'll be proud to show off.
Why Build Your Own DIY Picnic Table?
Building your own picnic table has several advantages over buying one from a big box store.
First, you'll save money. Many pre-built outdoor picnic tables cost hundreds of dollars, and the quality often
leaves something to be desired. Building your own allows you to choose better materials and create a
stronger finished product.
Second, you can customize the table to fit your space and style. Whether you prefer cedar, Douglas fir,
pressure-treated lumber, or another wood species, you have complete control over the finished look.
Finally, building a picnic table is an excellent woodworking project. It teaches basic construction techniques
while delivering a practical piece of outdoor furniture that your family can enjoy for years.
Materials Needed
The exact material list is included in the printable picnic table plans.
Lumber
2x4 and 2x6 Lumber (cedar is recommended)
Hardware
3/8" x 3.5" Carriage bolts
Washers
Nuts
2.5" Exterior wood screws
Finish
Outdoor-rated finish of your choice, we used spar urethane
Tools Required
Most DIYers already own the tools needed for this build.
Cutting Tools
Miter saw
Drilling Tools
Drill
3/8" Drill Bit
Layout Tools
Tape measure
Speed square
Pencil
Level
Assembly Tools
Impact driver or drill
Wrenches or socket set
Nail gun (optional)
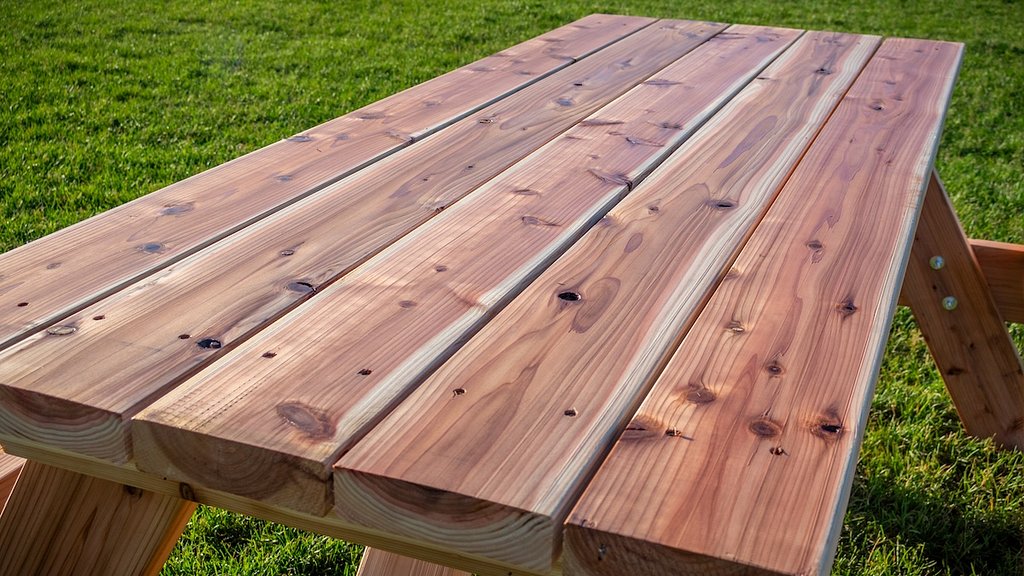
Choosing the Right Wood
One of the most common questions people ask when searching for picnic table plans is which wood species
they should use.
For this build, cedar is an excellent choice.
Cedar naturally resists insects, moisture, and decay. It also has a beautiful appearance that works well in
outdoor spaces. Although cedar costs more than pine or Douglas fir, many homeowners feel the extra
durability and appearance are worth the investment.
Pressure-treated lumber is another popular option. It's affordable and designed for outdoor use.
Douglas fir or pine can also work well if properly sealed and maintained.
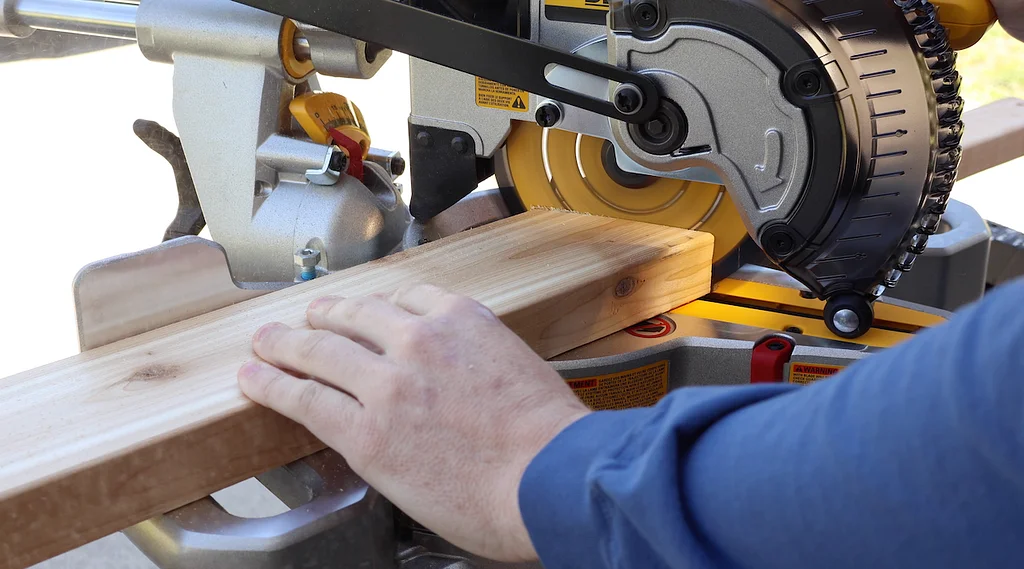
Step 1: Cut the Picnic Table Components
Step 1: Cut the Frame Components
The first step in building this DIY picnic table is cutting all of the frame components.
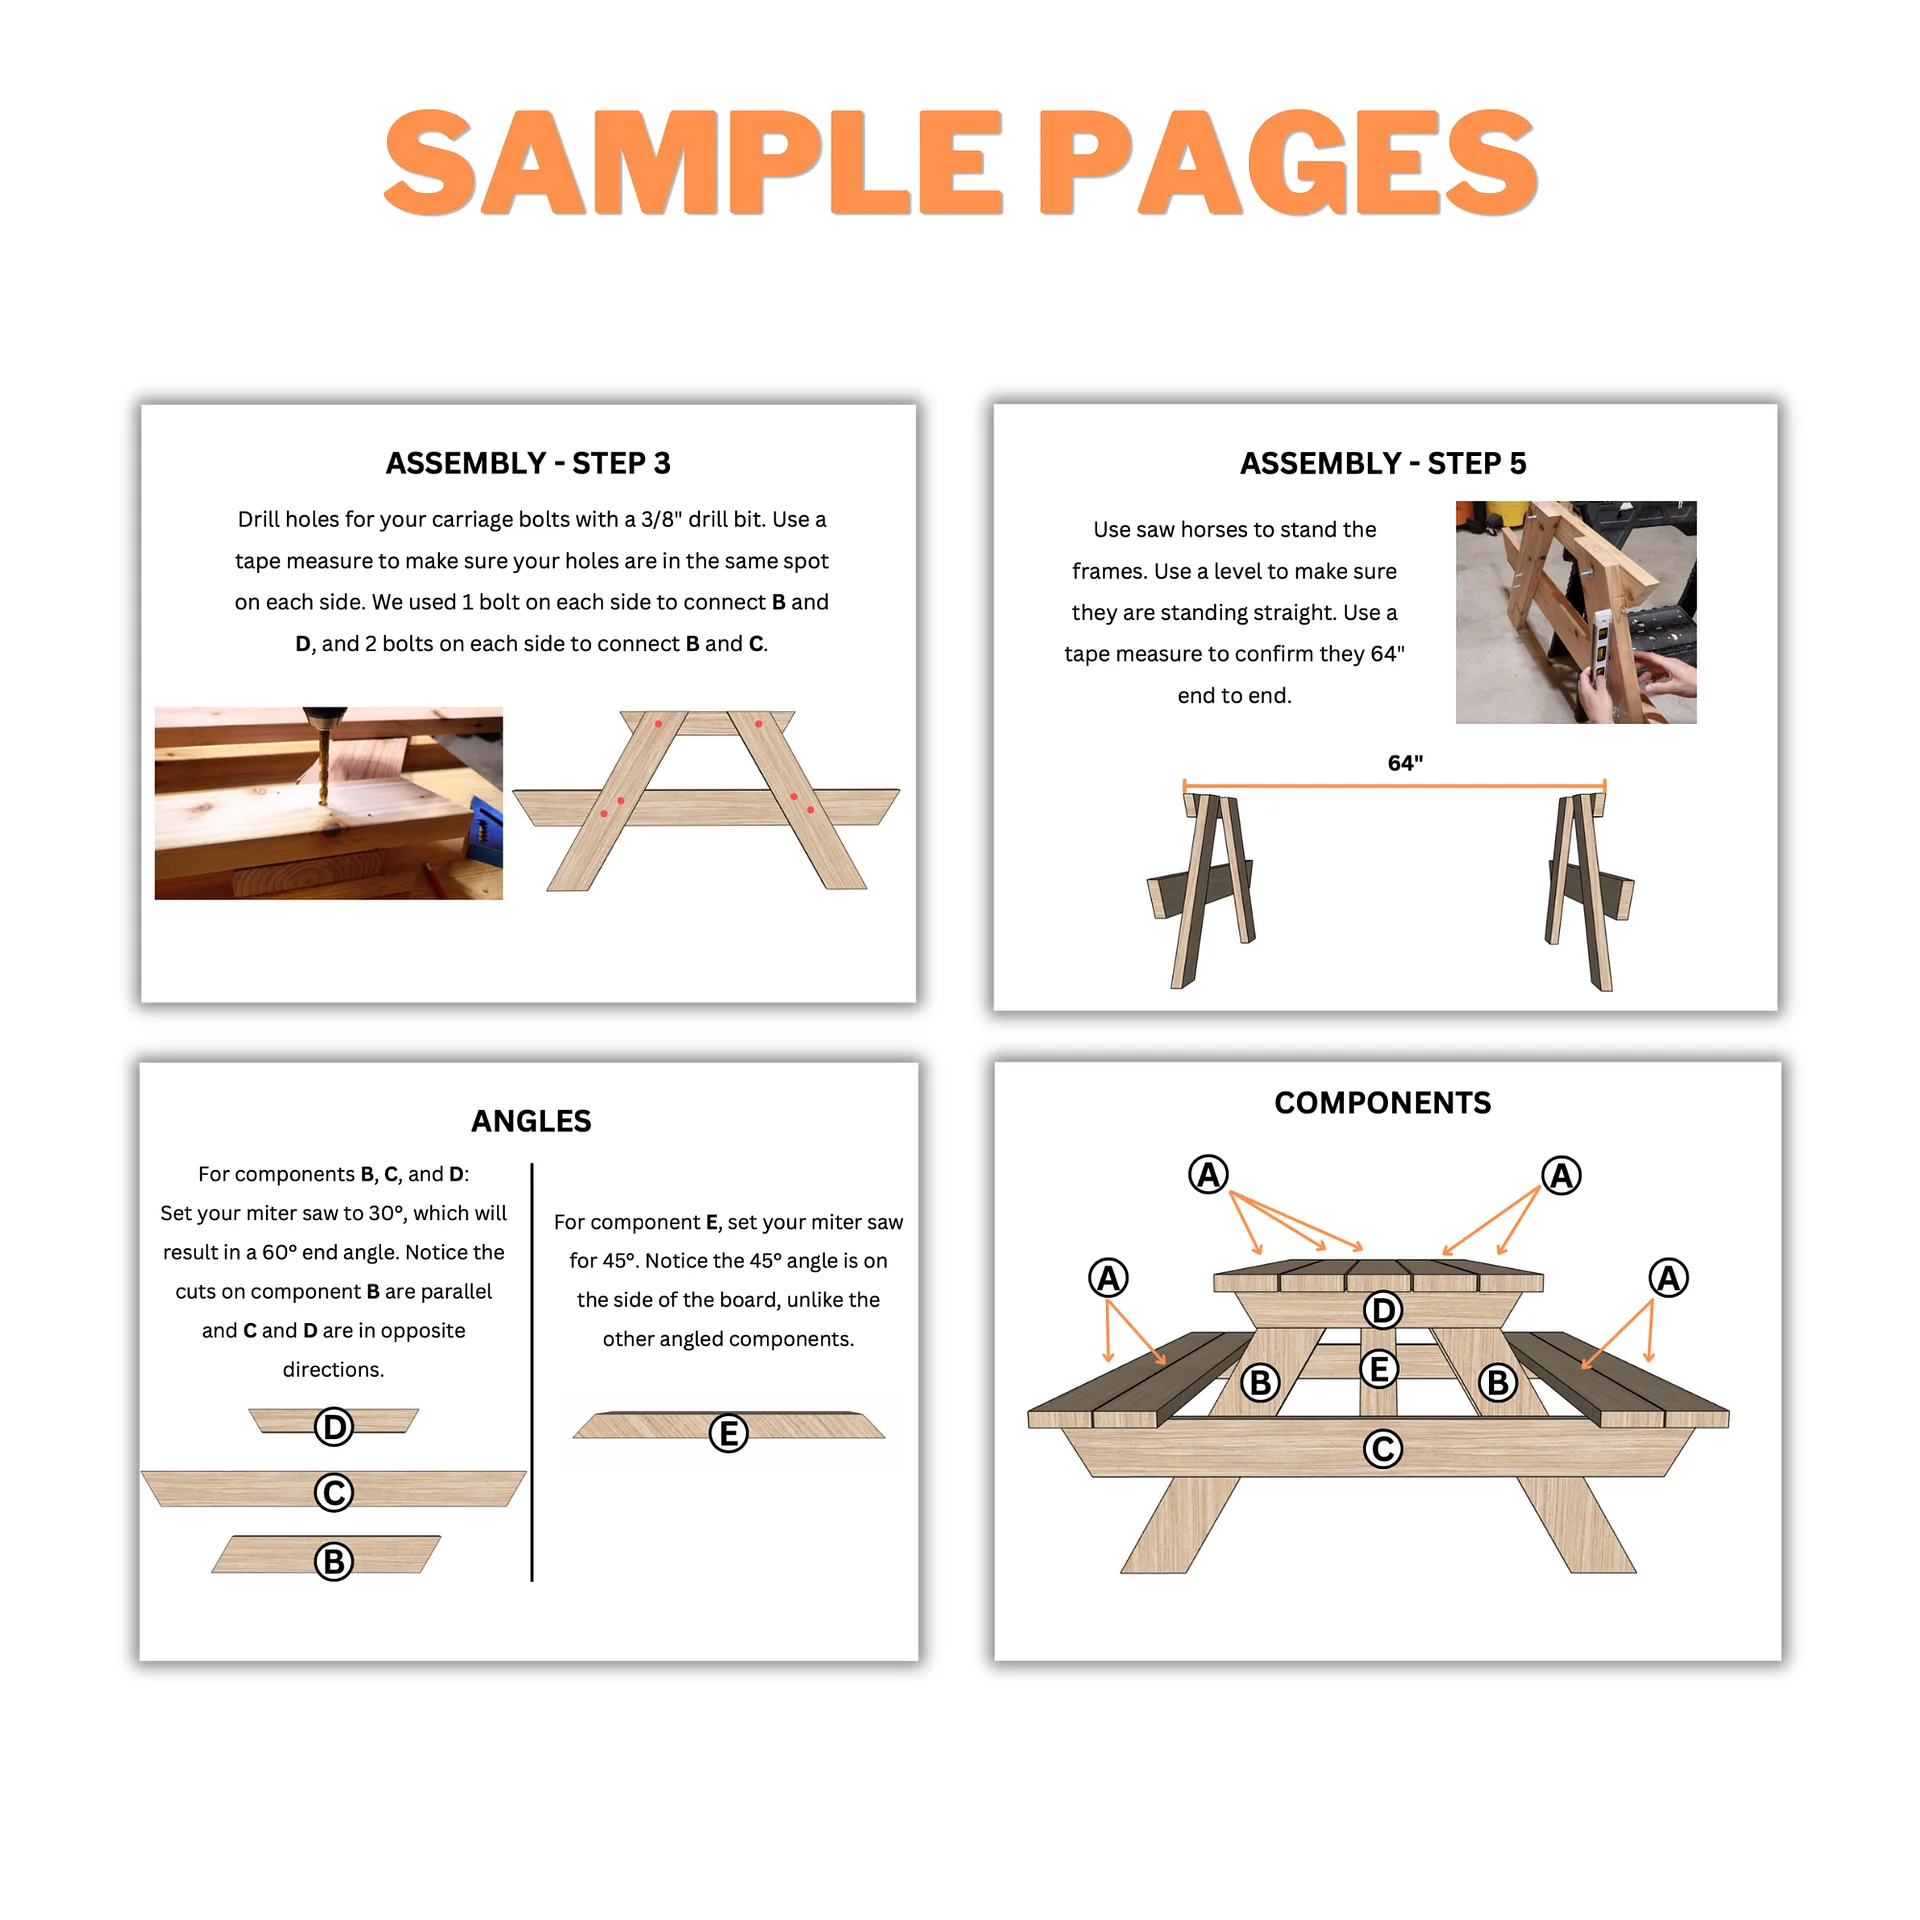
For the angled cuts, set your miter saw to 30 degrees. This creates the angle needed for the legs and support pieces.
One advantage of this design is that all of the angled cuts are at the same angle.
The diy picnic table plans feature a cut list and details for each component.
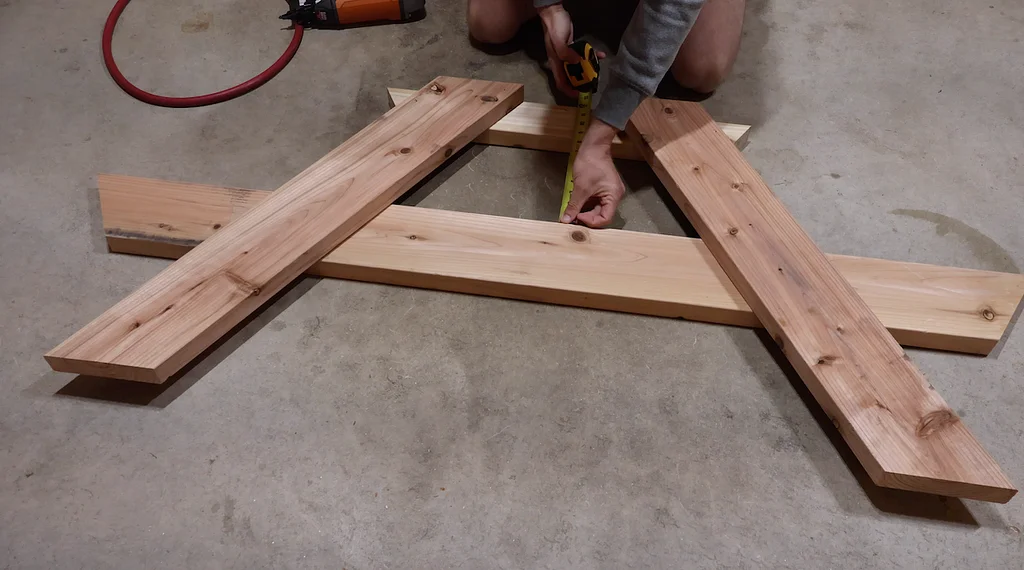
Step 2: Lay Out the Frames
With all of the pieces cut, begin laying out the frames on a flat surface.
Position the legs, upper supports, and lower supports according to the dimensions shown in the plans.
Before fastening anything permanently, double-check all measurements.
You'll find it helpful to mark the layout locations directly on the lumber before assembly.
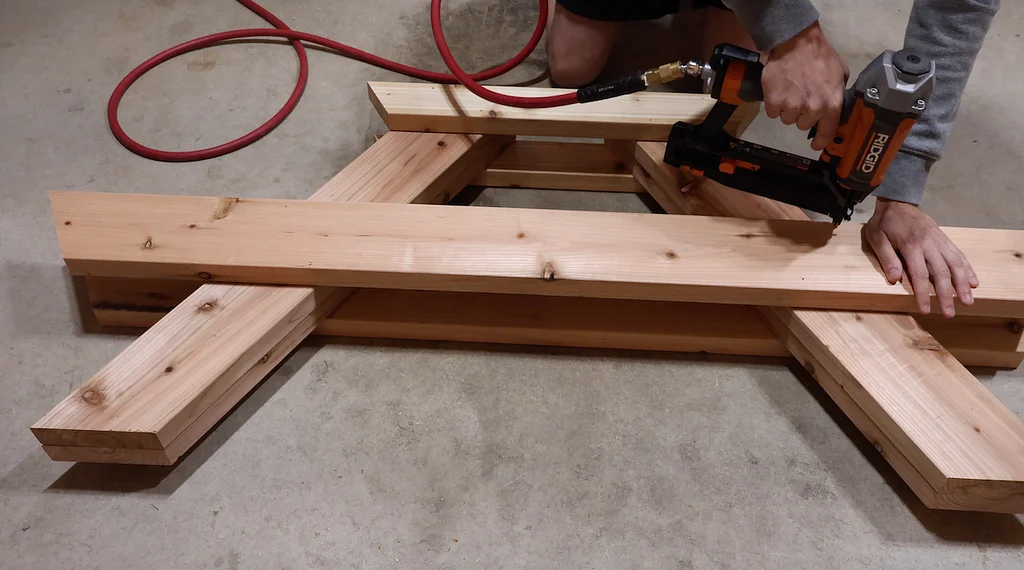
Step 3: Temporarily Fasten the Frames
A nail gun works great for temporarily holding the frame together during assembly.
Rather than immediately installing bolts, use a few nails to keep everything aligned while you verify
measurements and positioning.
The temporary fasteners allow you to make adjustments if necessary before permanently securing the
frame.
Once the first frame is assembled, use it as a template for building the second frame.
This helps ensure both sides of the picnic table are identical.
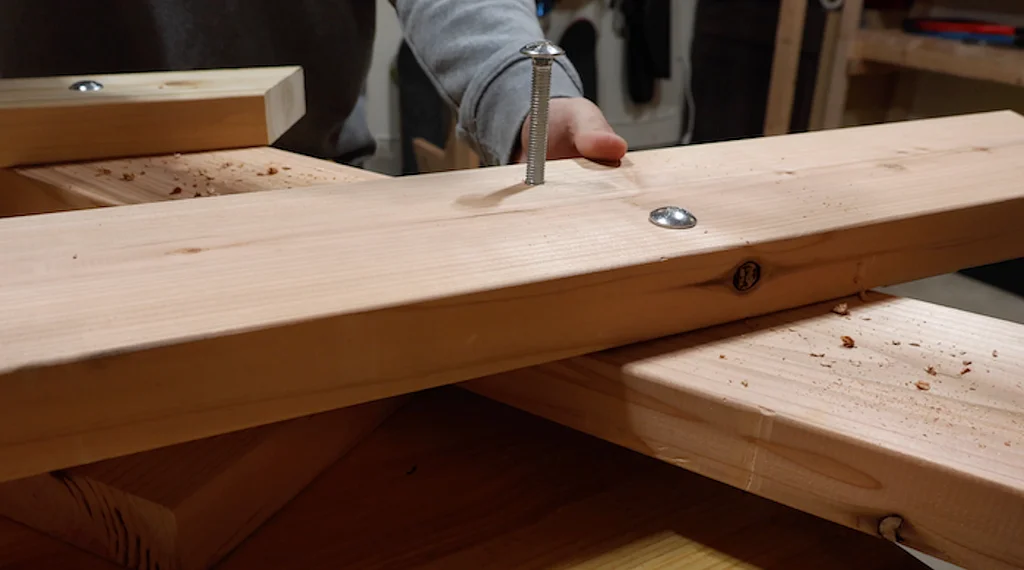
Step 4: Install the Carriage Bolts
Carriage bolts provide the primary structural strength of the frame.
Begin by marking all bolt locations carefully.
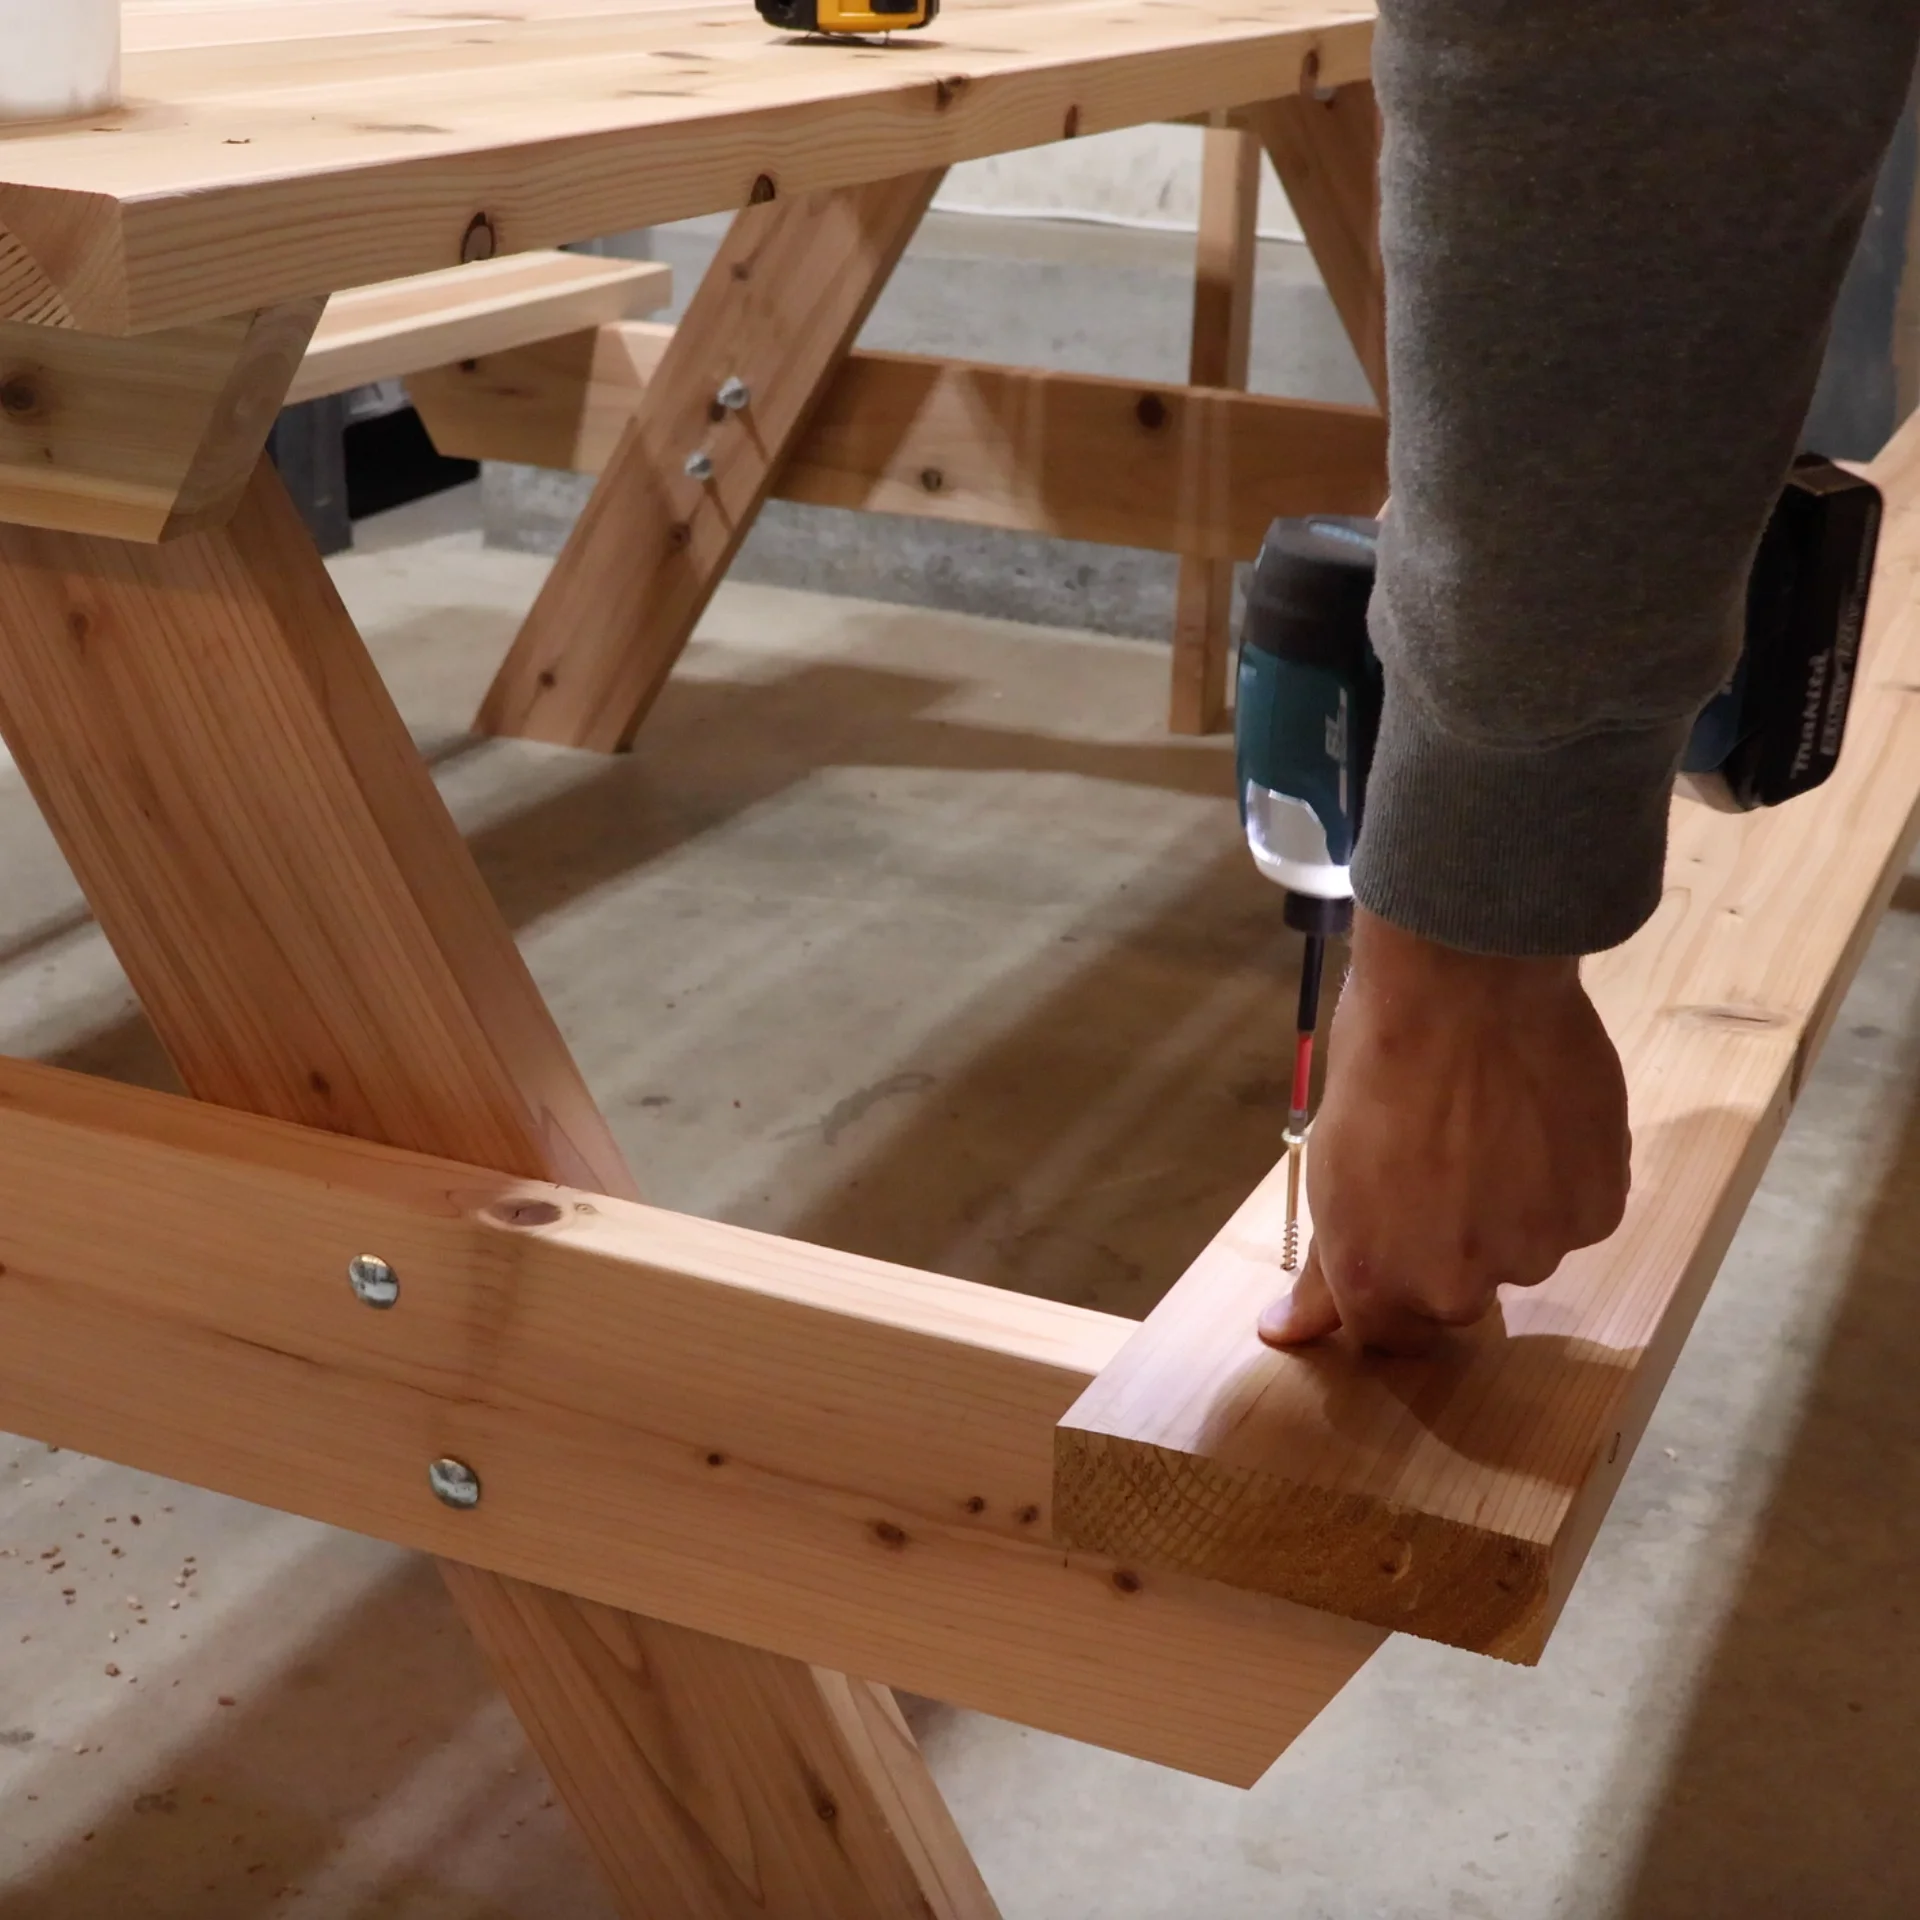
Dill a 3/8" hole for each bolt.
Insert the carriage bolts
Add washers
Thread on the nuts
Tighten securely
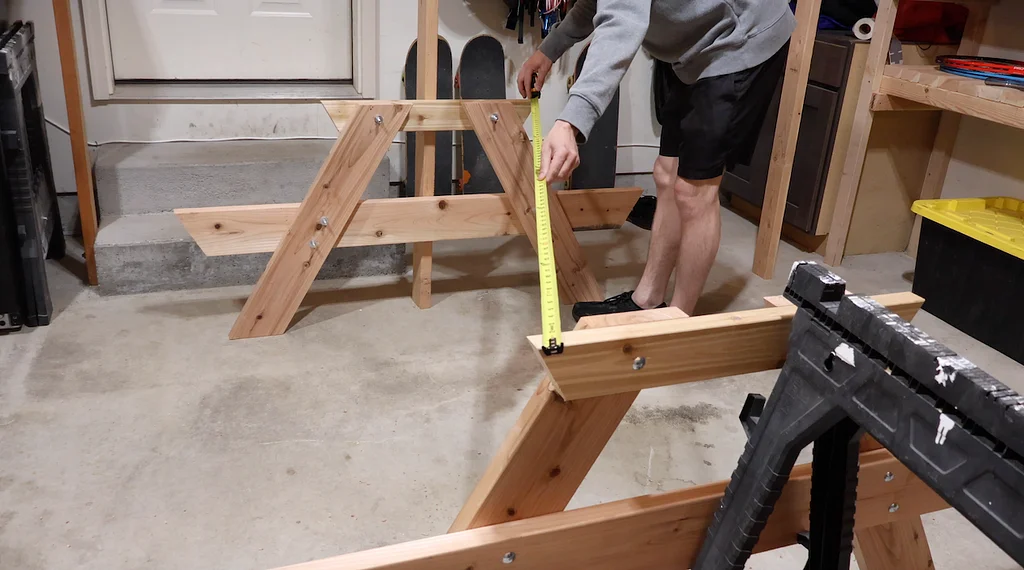
Step 5: Verify Everything Is Square
Before moving forward, take a few minutes to ensure the frame is square.
Measure diagonally from one corner to the opposite corner. Then measure the opposite diagonal.
If both measurements match, the frame is square.
Also use a level to verify the side frames are perfectly vertical.
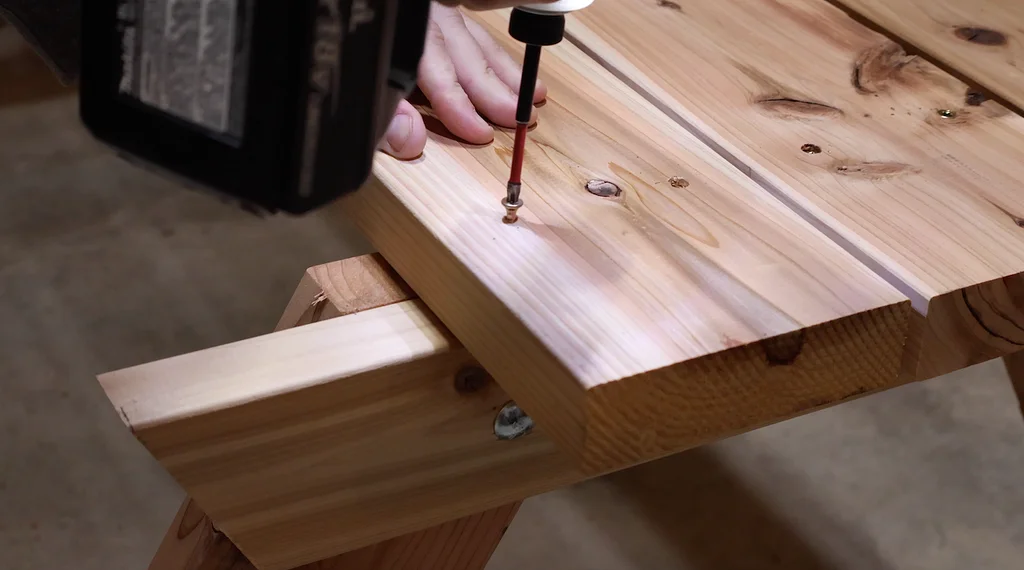
Step 6: Install the Tabletop Boards
Now the picnic table starts looking like a finished project.
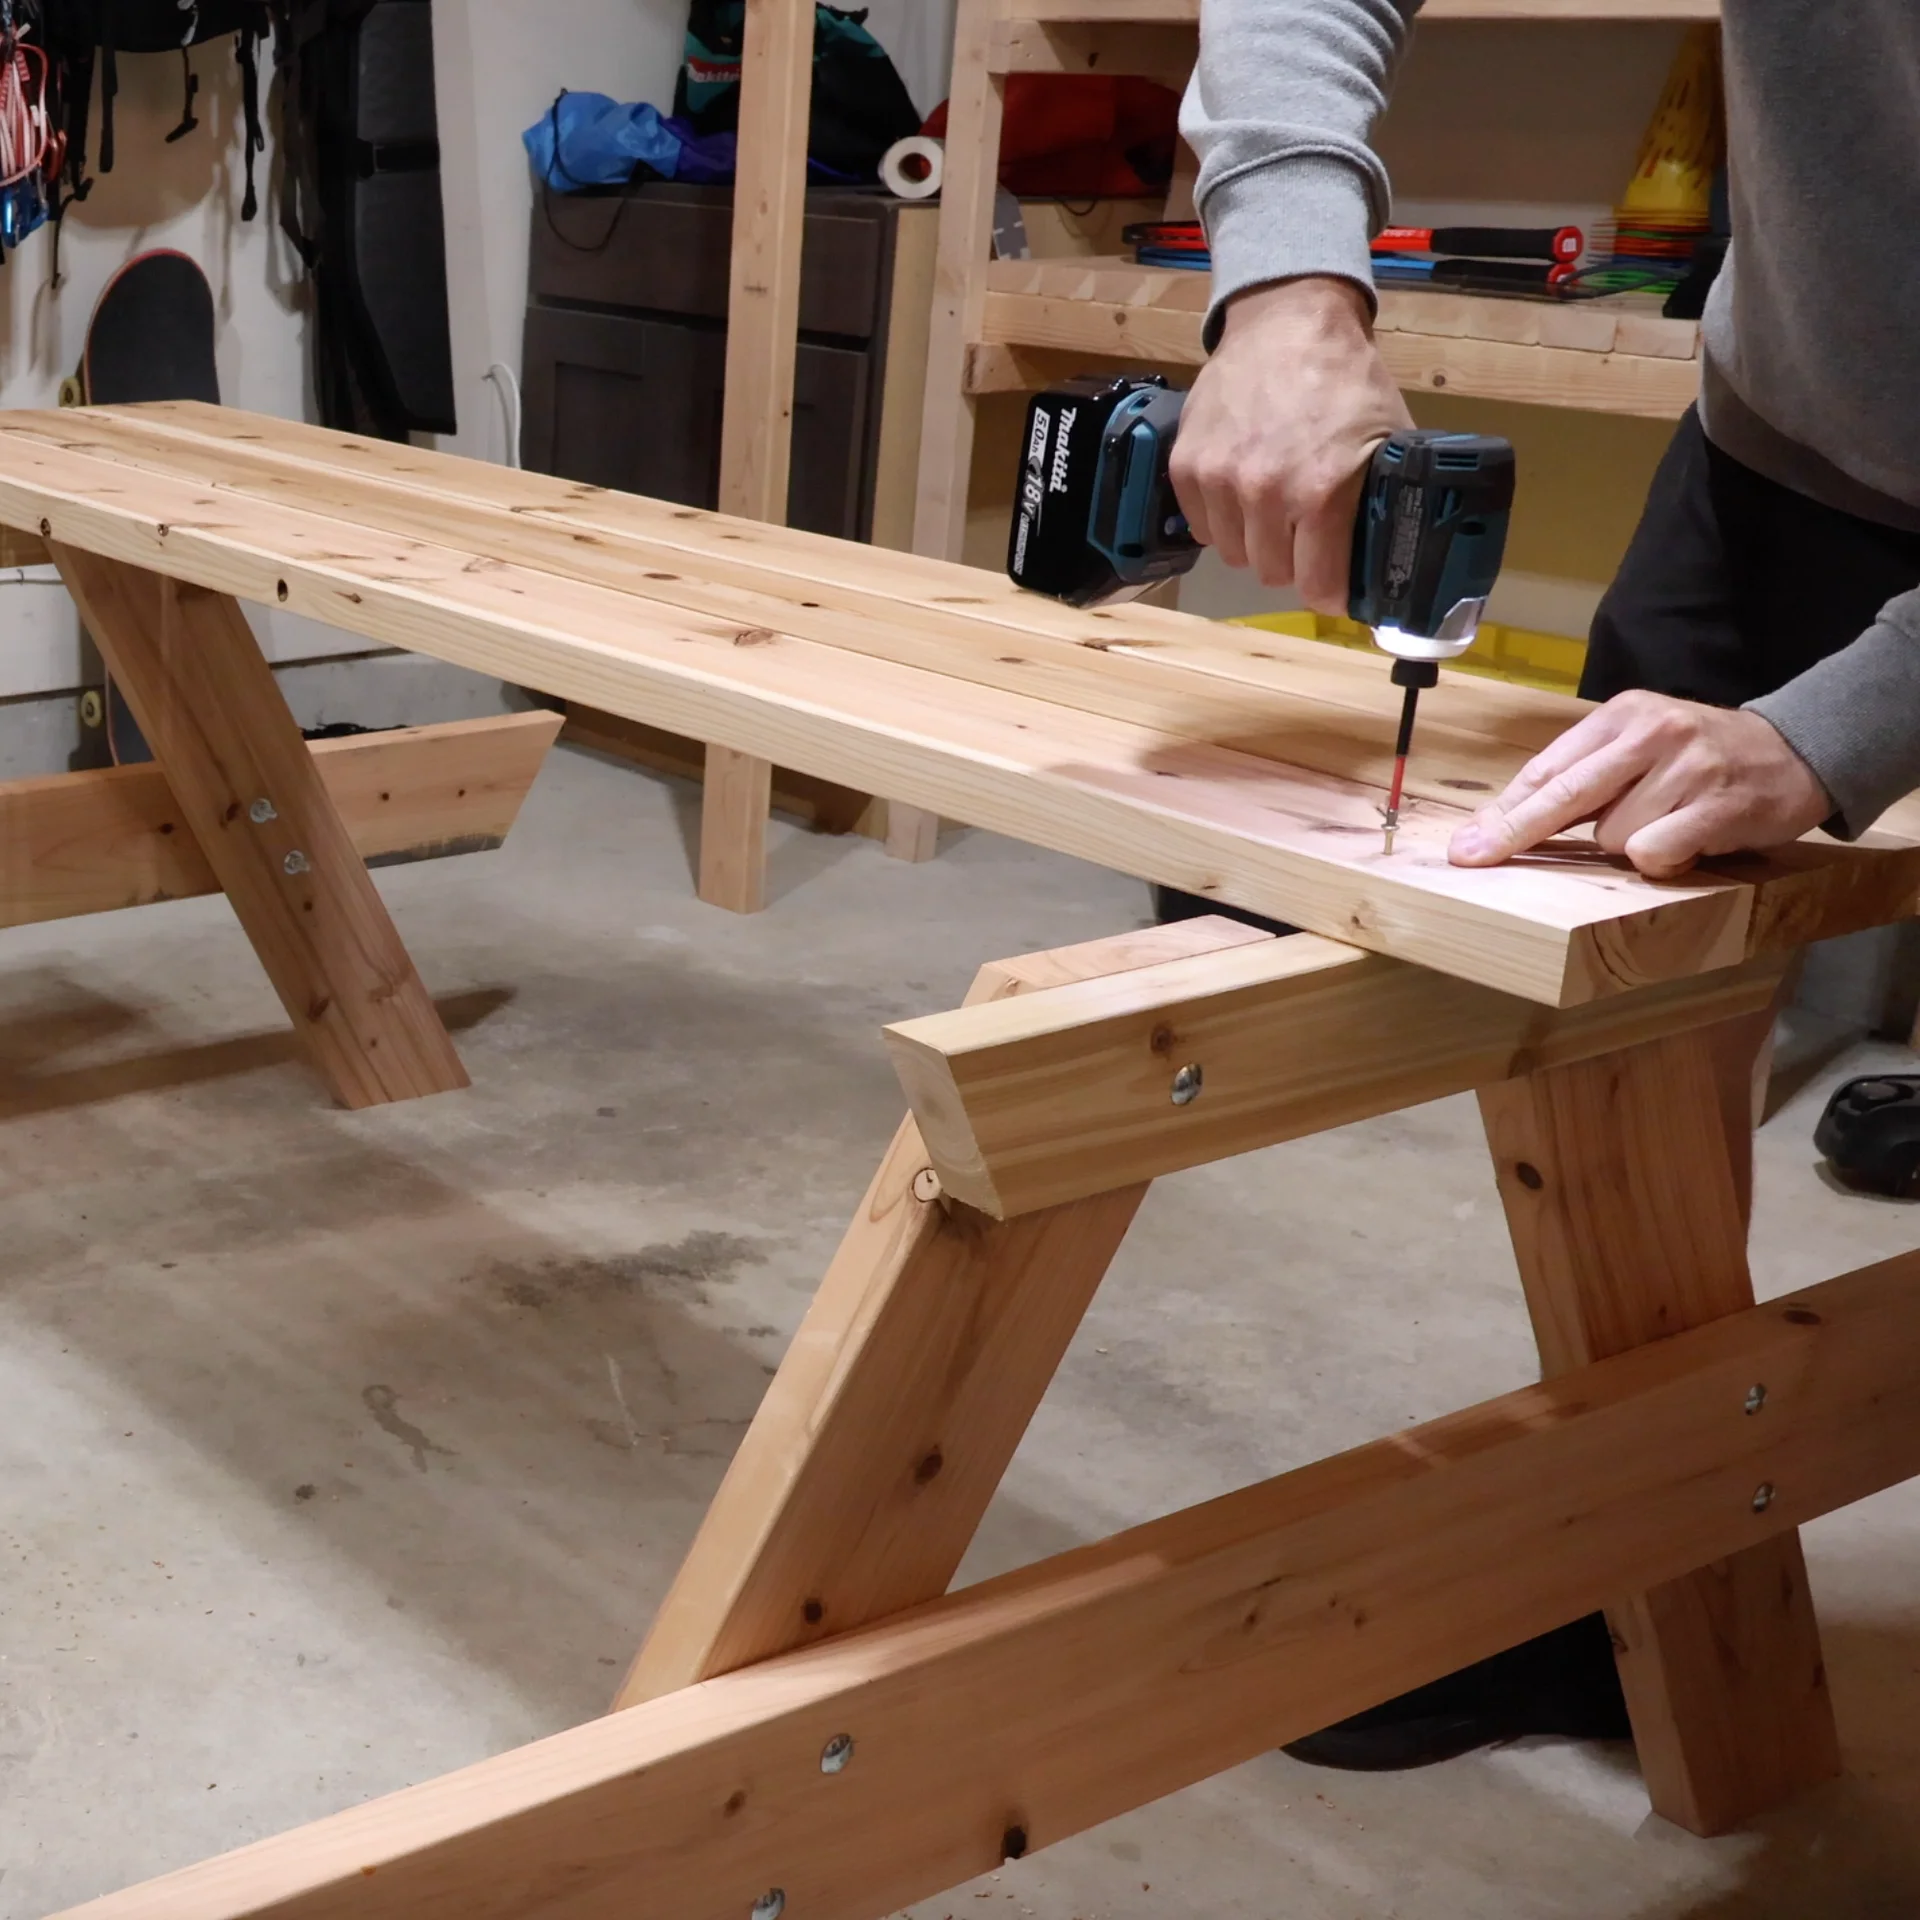
Begin attaching the tabletop boards to the upper supports.
As you install each board, maintain consistent spacing between them.
For this build, approximately 1/4" spacing is used between boards.
Secure each board with exterior-rated screws.
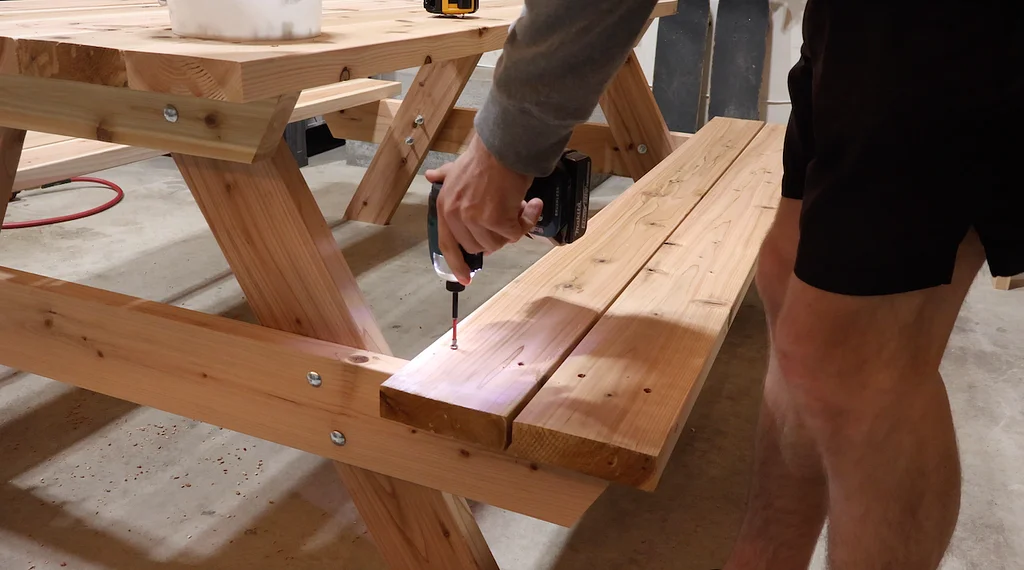
Step 7: Install the Bench Boards
Next, attach the bench boards to the lower supports.
Just like the tabletop boards, maintain consistent spacing throughout the installation process.
Careful alignment helps create a clean, professional appearance.
Once all bench boards are installed, the structure of the picnic table is essentially complete.
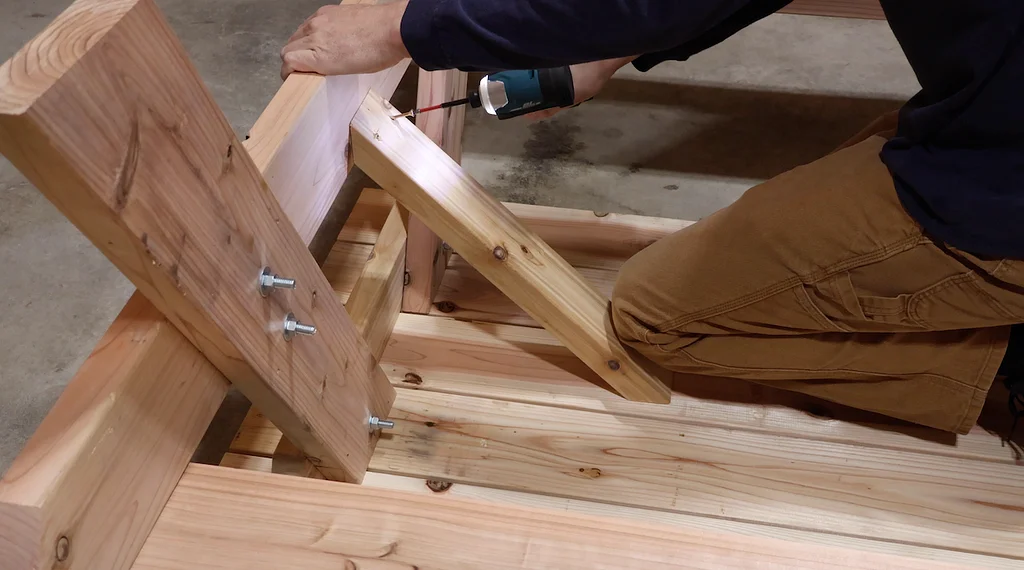
Step 8: Add the Diagonal Braces
One of the most important features of these picnic table plans is the diagonal bracing.
The braces are made from standard 2x4 material with 45-degree cuts on each end.
Flip the picnic table upside down for this step.
Without braces, picnic tables often develop side-to-side movement over time.
The diagonal braces help eliminate rocking and create a much more solid feel.
Attach the braces using exterior screws and ensure they fit snugly against the frame.
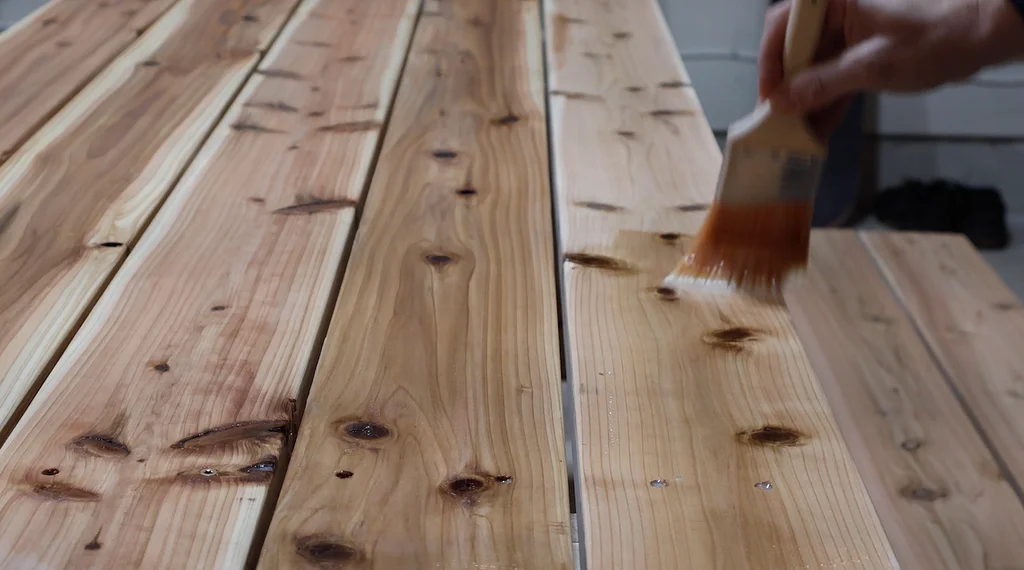
Step 9: Apply an Outdoor Finish
For this project, a coat of spar urethane provides excellent weather resistance while highlighting the natural beauty of the wood grain.
Other outdoor finishes can also work well depending on your preferences.
Following the manufacturer's recommendations for application and drying times will help ensure long-lasting protection.
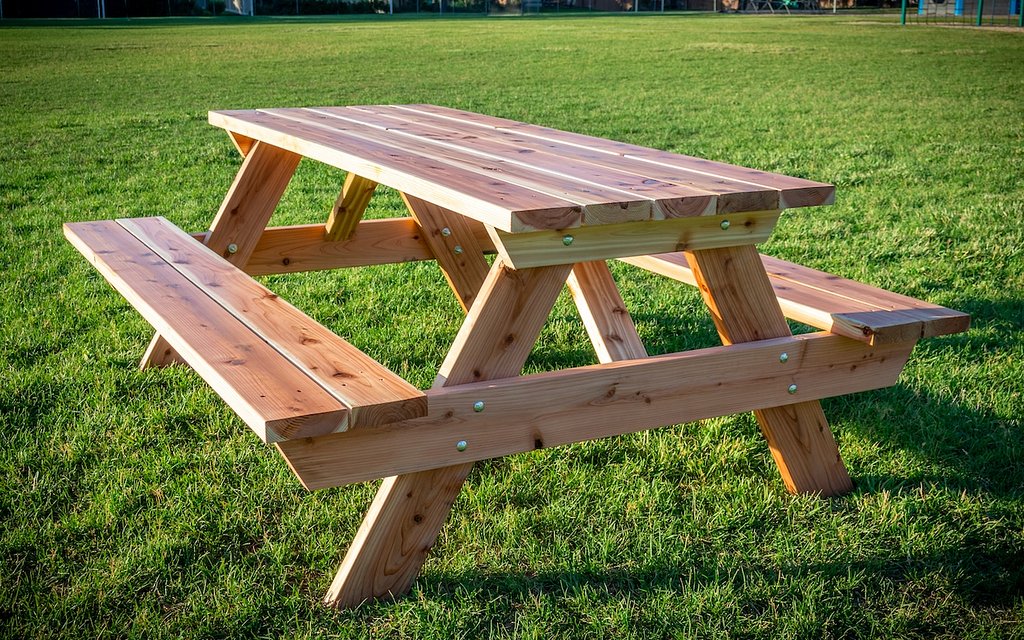
Final Thoughts
Building a DIY picnic table is one of the most rewarding outdoor woodworking projects you can take on. It's practical, beginner-friendly, and provides years of enjoyment for family and friends.
With quality materials, careful assembly, and a durable outdoor finish, this picnic table can become a centerpiece of your backyard for many seasons to come.
If you're ready to get started, grab the complete picnic table plans and begin building your own outdoor gathering space today.
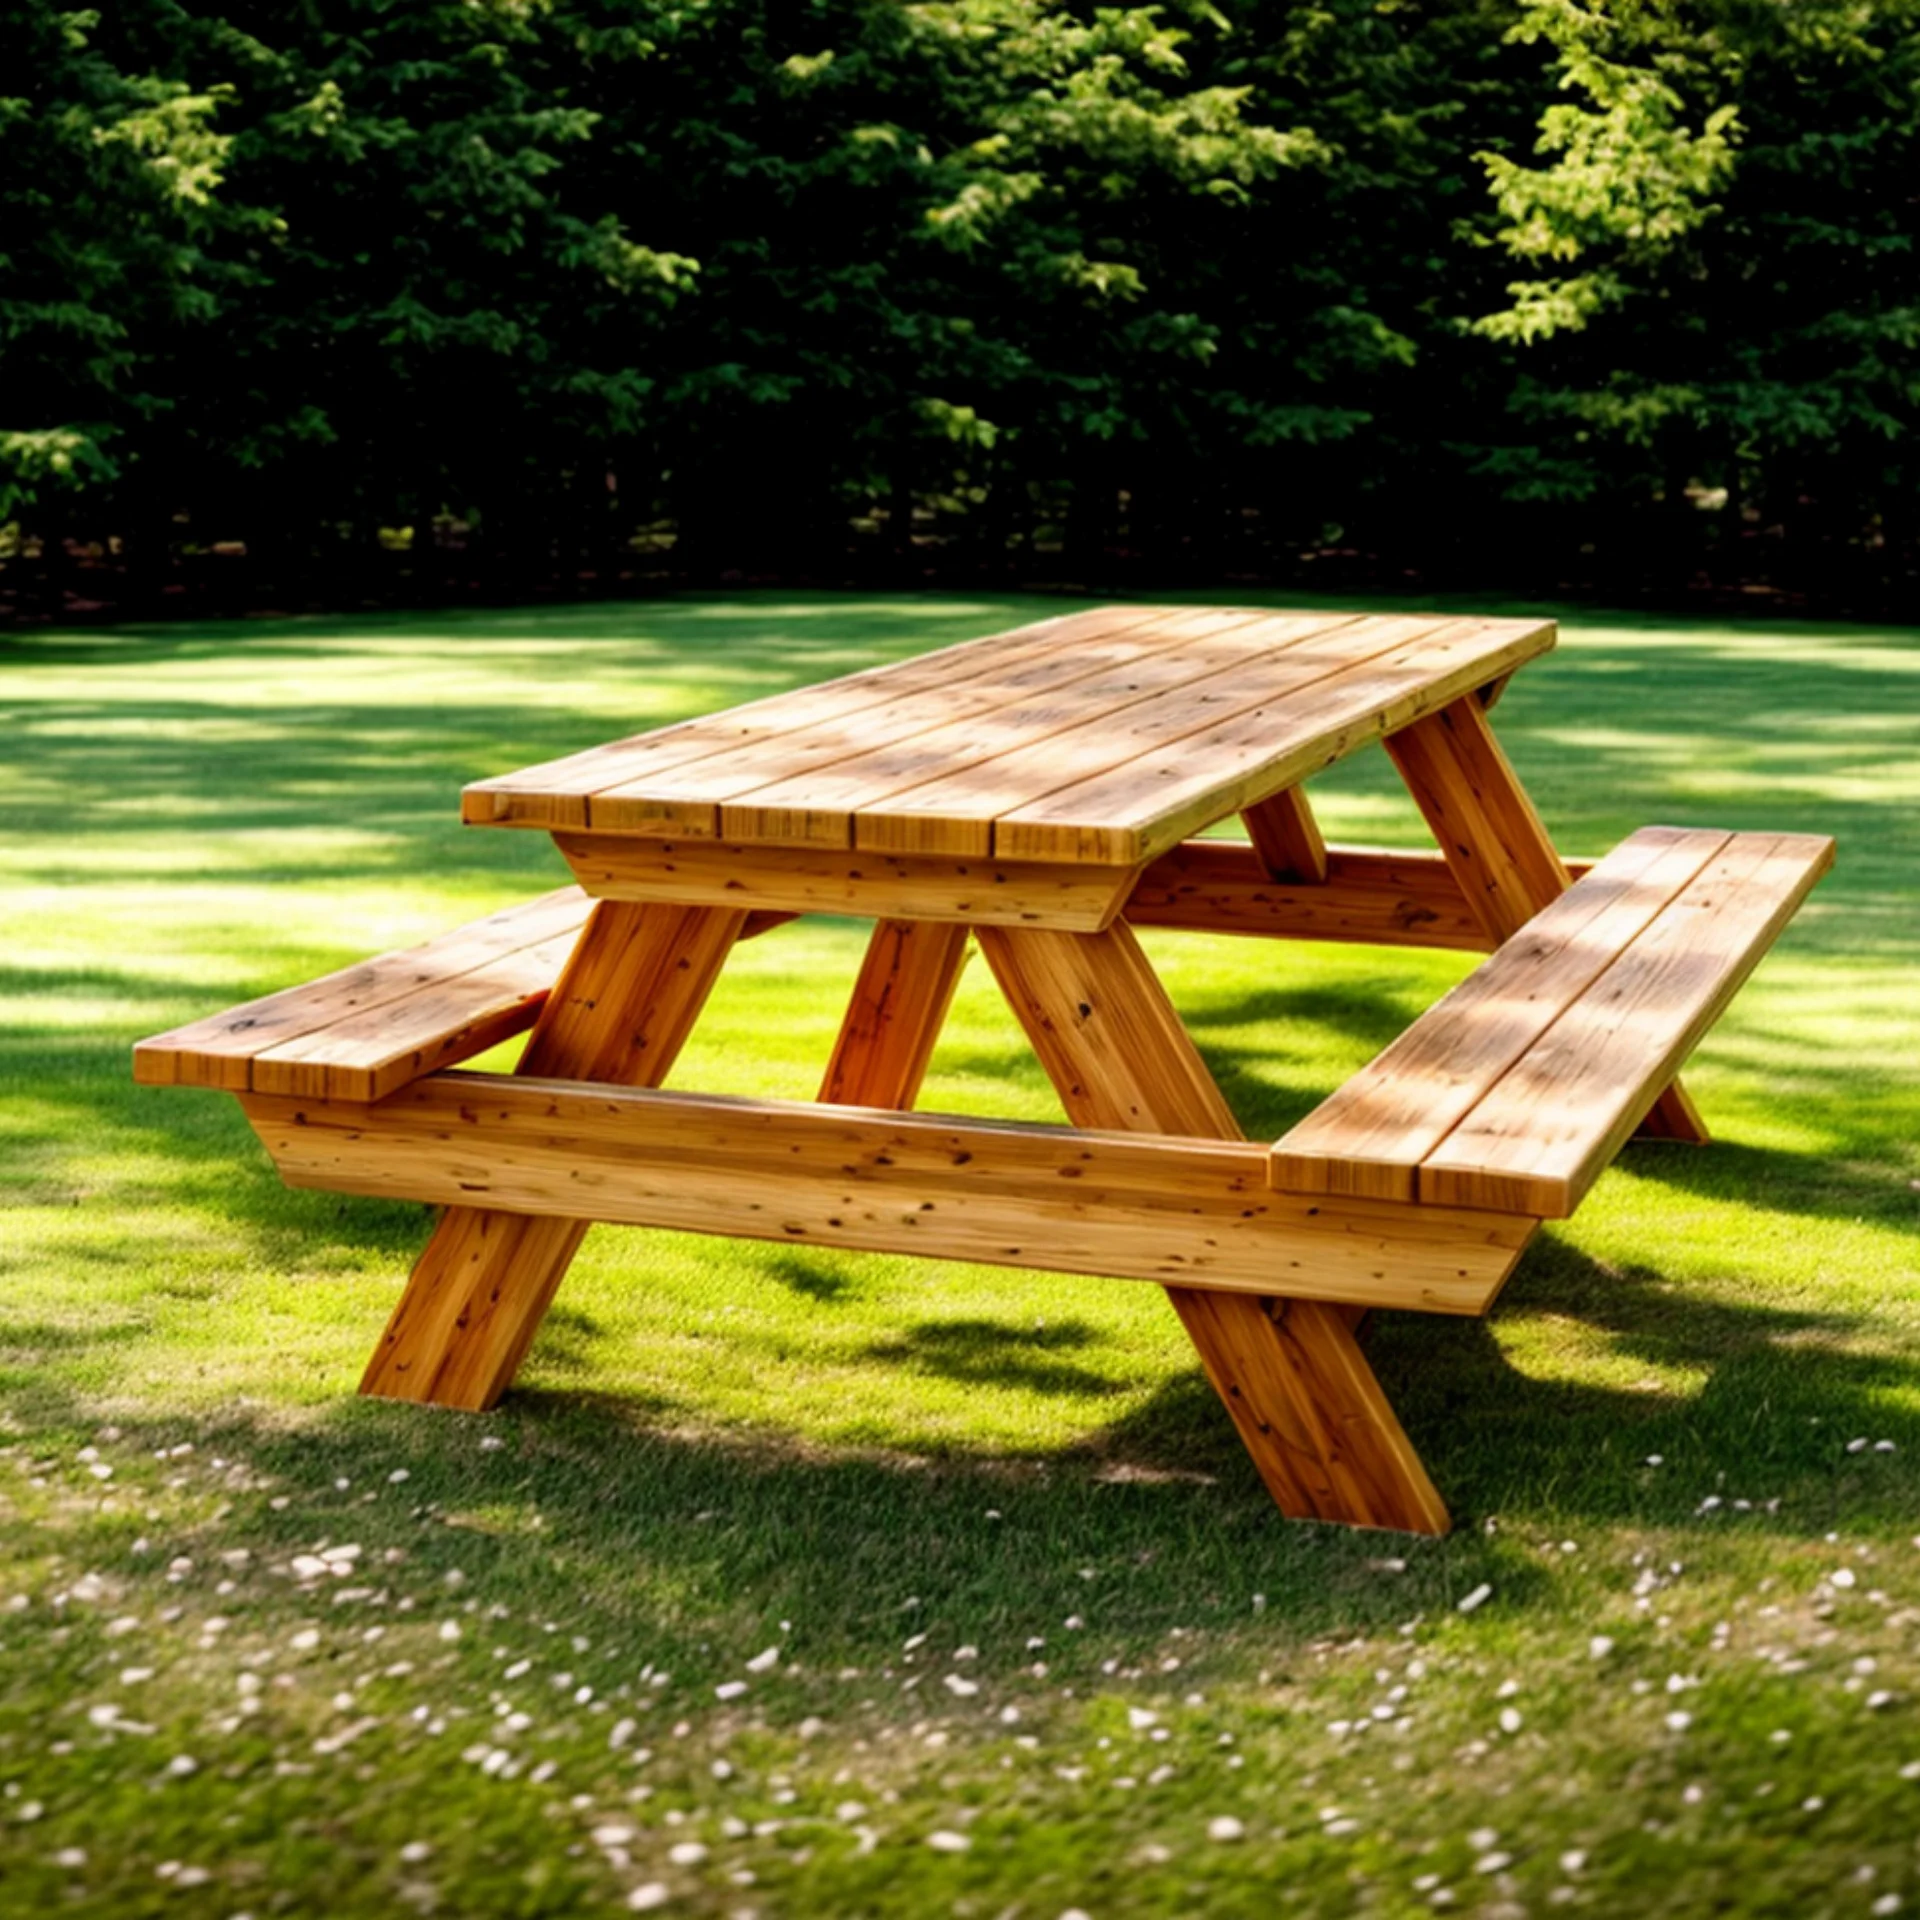
Picnic Table Plans (PDF)
Complete step-by-step woodworking plans to build your own DIY picnic table.
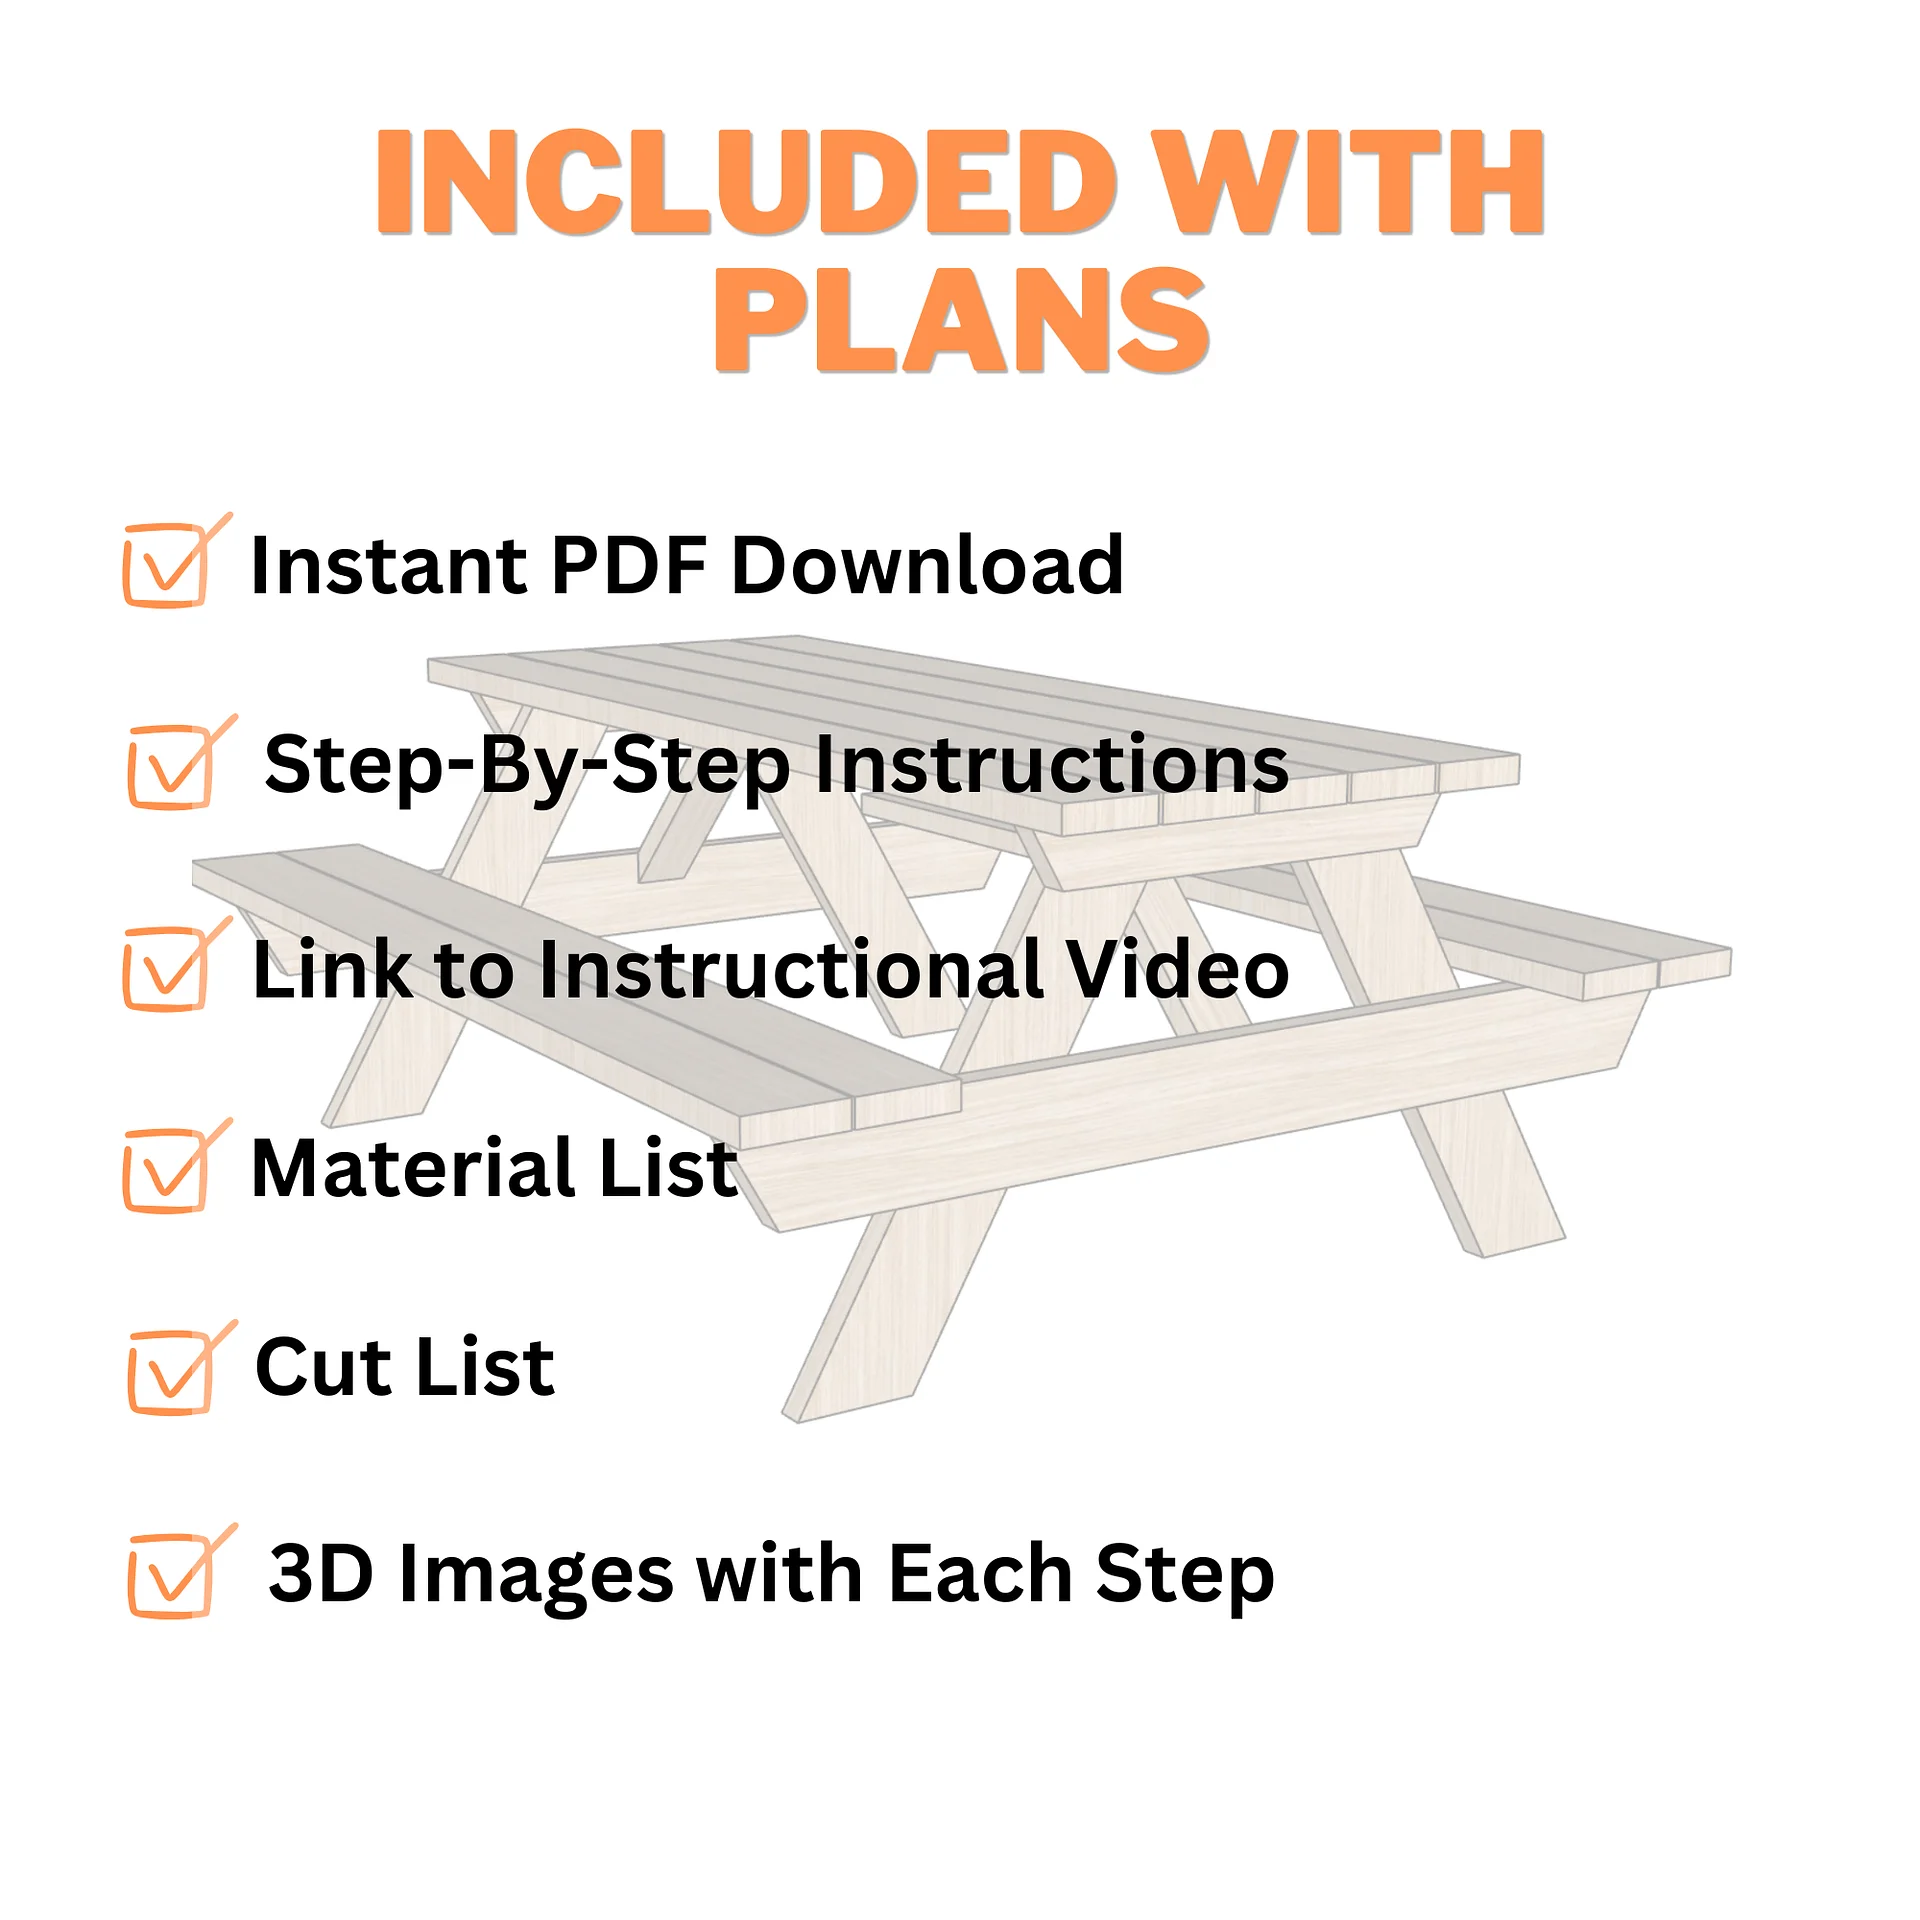
PDF includes:
- Dimensions
- Material List
- Cut List
- Angles
- Layout
- Assembly Instructions
Dimensions
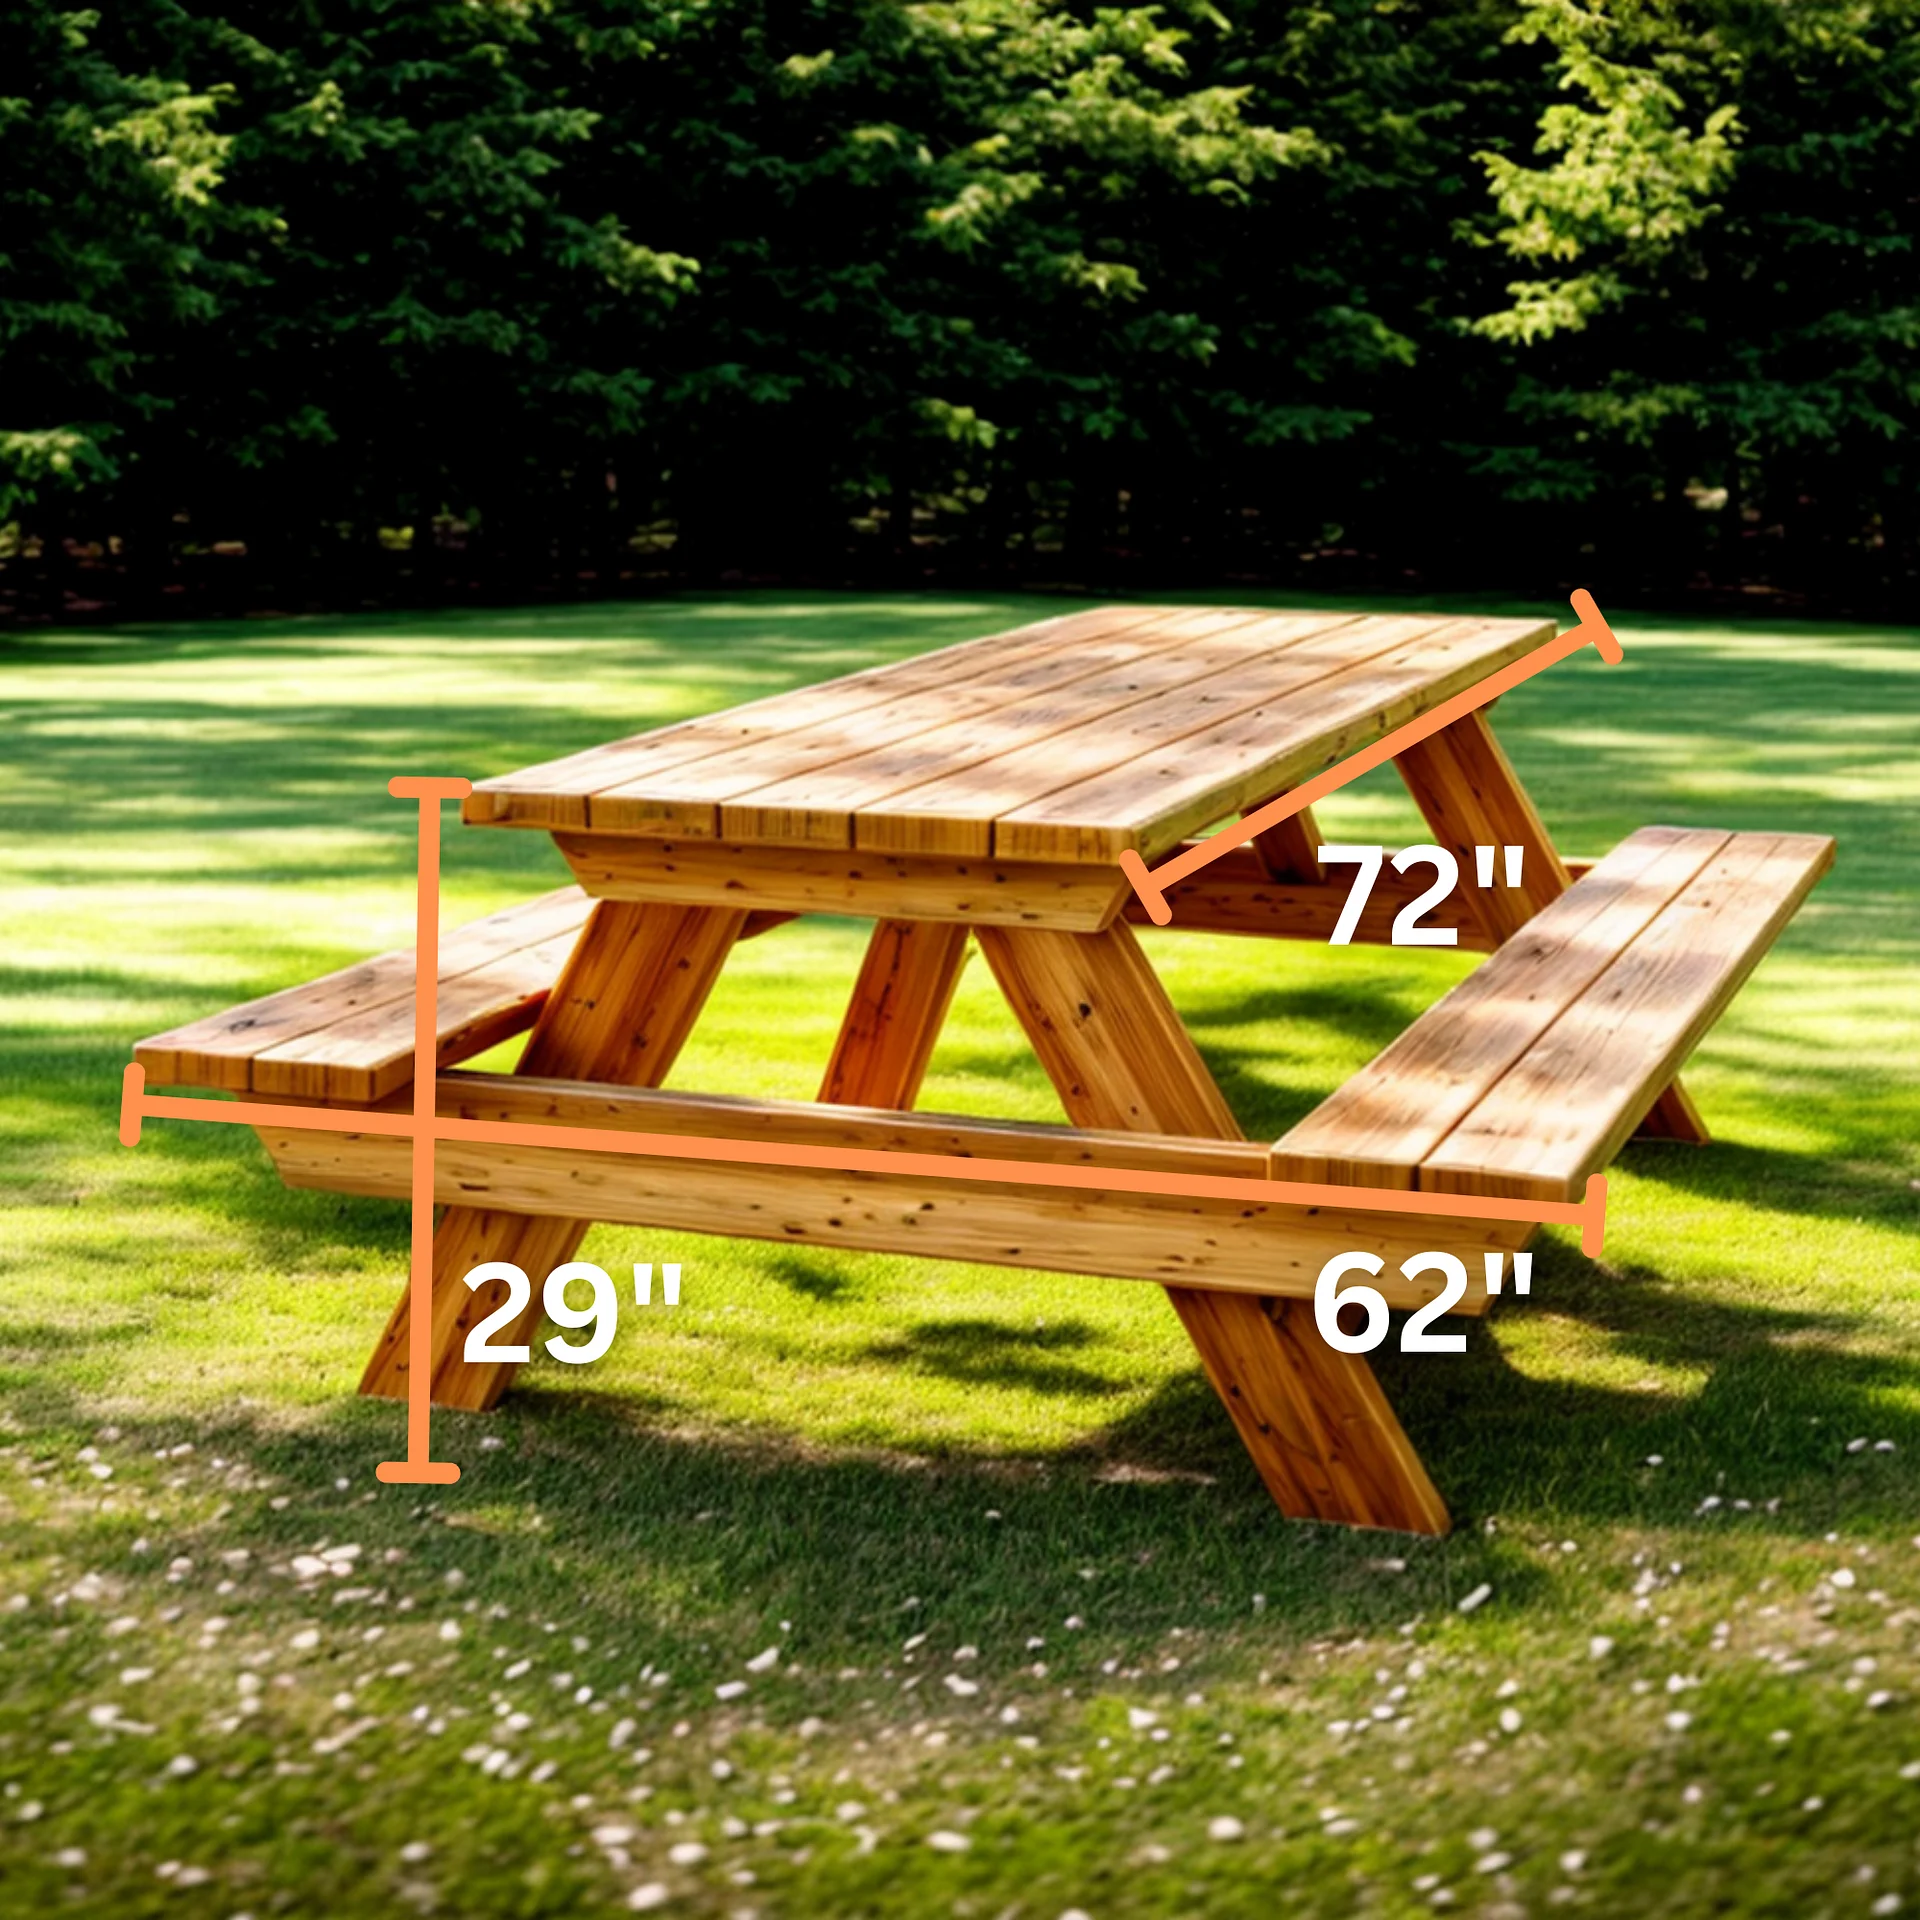
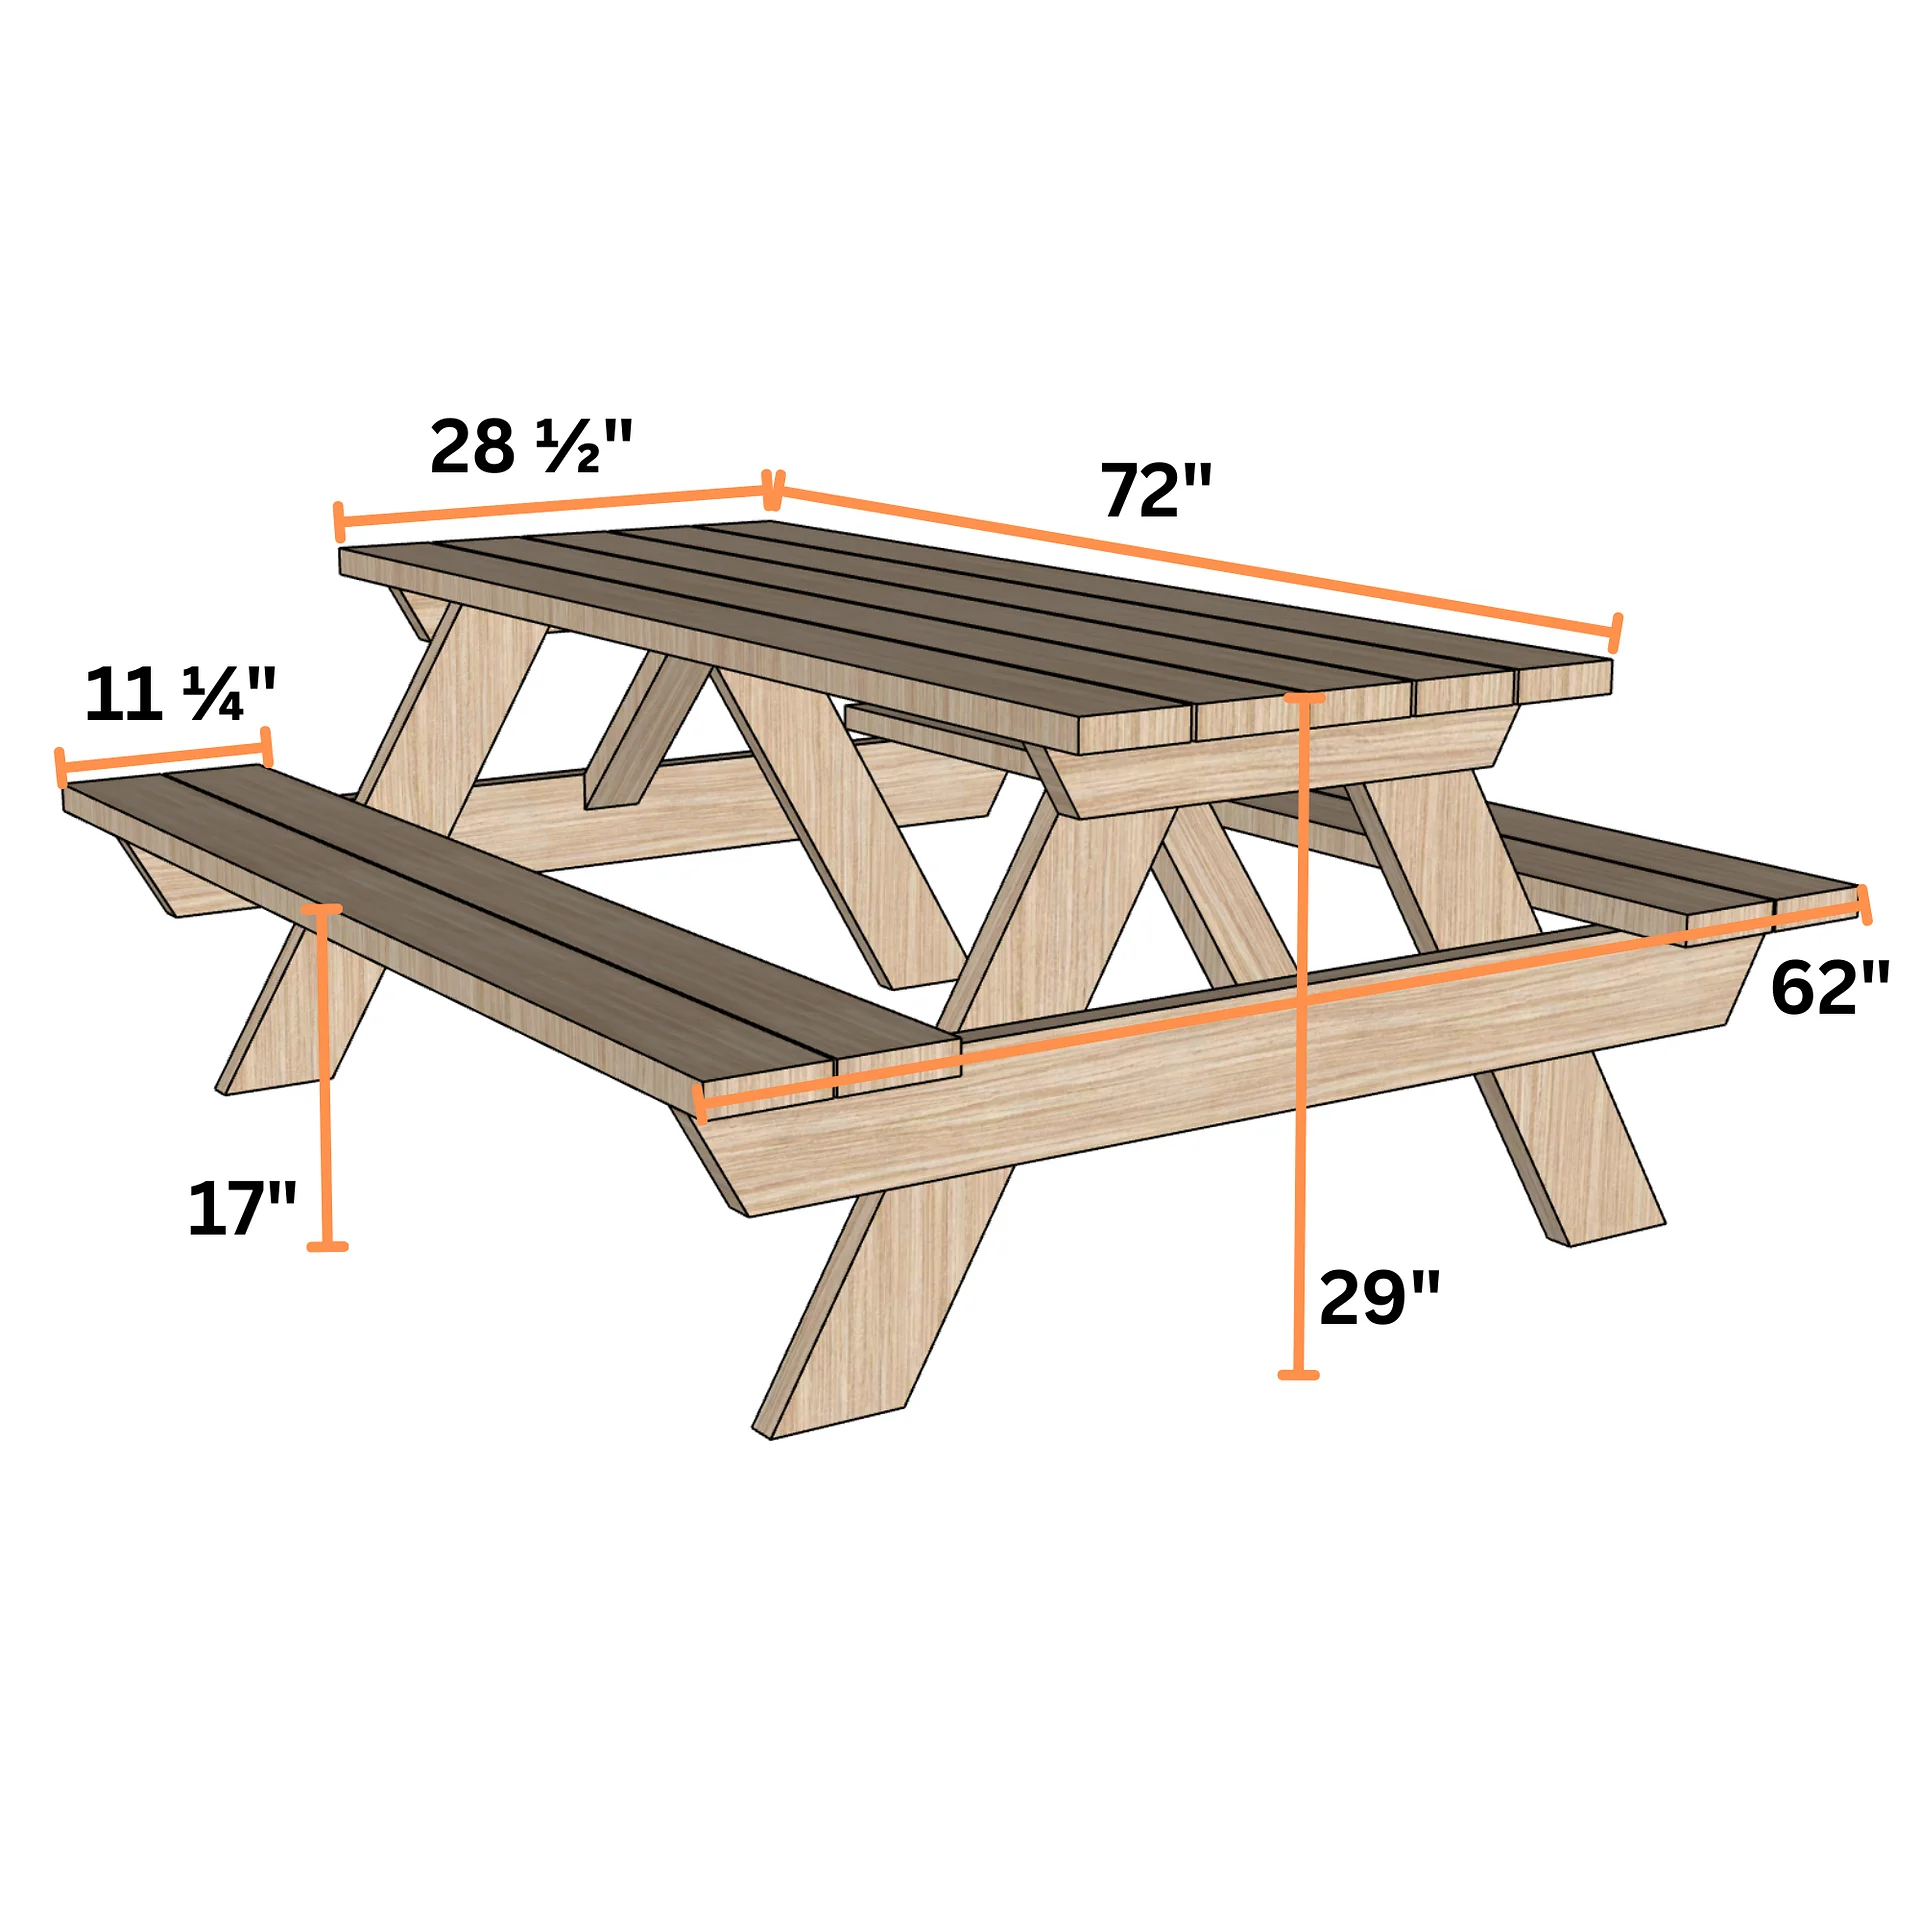
72" Long, 62" Wide, and 29" Tall
Materials
2x4 and 2x6 Lumber
You are buying a downloadable PDF, nothing will be shipped. The PDF will be available instantly upon purchase.